Table of Contents (14 sections)
In the world of do-it-yourself (DIY) projects, achieving professional-quality results can often feel out of reach. However, with the right techniques and knowledge, anyone can elevate their projects from amateur to expert. Here, we present ten essential DIY tips that will help you achieve pro-quality results, making your projects not only look great but stand the test of time.
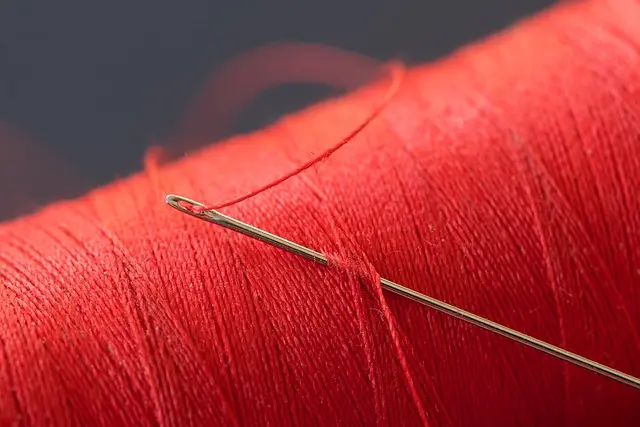
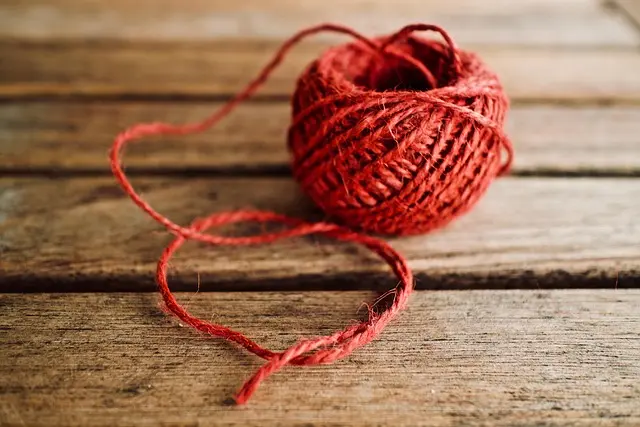
1. Understand Your Materials
Getting the right materials is fundamental to any DIY project. Whether you are working with wood, metal, or fabric, understanding the unique properties of each can drastically improve your results. For instance, using high-quality wood can ensure better finishes and longevity compared to cheaper alternatives. Invest time in learning about different types of paint, adhesives, and finishes. According to our experience, many DIY enthusiasts overlook this crucial step, opting for cheap materials that compromise the overall quality. Take the time to choose wisely, as it pays off in your project's final appearance.
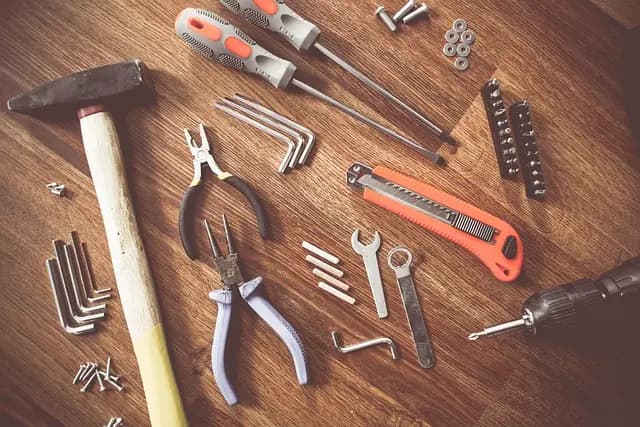
2. Master the Tools
Using the right tools can make or break a project. Mastery of your tools not only speeds up the workflow but also increases accuracy. For example, understanding how to use a miter saw correctly can lead to perfectly angled cuts. Consider attending workshops or watching instructional videos to familiarize yourself with tool usage and maintenance. Knowing the ins and outs of each tool allows you to work safely and effectively, leading to cleaner results. We have curated a list of tools that can significantly enhance your DIY capabilities—be sure to check them out below.
3. Plan Your Project
A well-laid plan is as important as the actual work. Before starting, sketch out your project and list the required materials. This planning stage helps identify potential challenges and find solutions in advance. It's often recommended to build a prototype, especially for large projects, to test your design’s viability. According to research, over 60% of DIY projects fail due to inadequate planning. Thus, a solid plan can pave the way for success and save you time and resources in the long run.
4. Choose the Right Finish
The finish can dramatically affect the overall appearance of your completed project. Whether it's a protective varnish, a uniform paint, or a textured stain, choosing the right finish is essential. Each finish type has its unique application methods and drying times, which can impact your outcome. Many DIYers overlook this step and choose a finish based on aesthetics alone, ignoring functional aspects. A finish should not only look good but protect your project and enhance its longevity. Getting the finish right could be the difference between a project that looks homemade and one that looks professionally crafted.
5. Use the Correct Techniques
Techniques vary significantly depending on the project. For example, cutting angles, joining pieces, or applying paint all require particular methods for best results. Take the time to learn techniques specific to your project. Many online resources and workshops offer insights into advanced techniques that can improve your workflow. Additionally, applying techniques like sanding properly before painting can give a smoother finish. Don’t rush this stage; mastering techniques is vital for achieving those professional results.
6. Invest in Quality Tools
High-quality tools yield better results. While they might be more expensive upfront, durable, reliable tools can lead to professional-quality outcomes and save you money over time. For instance, investing in a good drill or precision cutting tool can prevent mistakes and ensure a polished finish. Tools can often be a long-term investment, so select brands that are known for reliability. Ensure you maintain them well; clean and oiled tools work much better than neglected ones.
7. Take Your Time
In DIY projects, haste can lead to mistakes that compromise quality. Take your time with each step, and allow finishes to dry completely before moving on. Rushing through might seem efficient, but the end results often reflect that. Many skilled DIYers recommend developing a habit of working methodically, checking your work at each phase to ensure you stay on track. This patience often translates into noticeable improvements in quality, turning ordinary projects into extraordinary ones.
8. Keep Learning
The world of DIY is ever-evolving, with tools and techniques constantly improving. Keep up by reading blogs, watching tutorials, and joining local DIY groups. This continuous learning can inspire new ideas, introduce you to innovative techniques, and enhance your skills significantly. Engaging with other DIY enthusiasts allows for exchanging tips and experiences that can be invaluable. Remember, every expert was once a beginner, so invest in your growth and celebrate your progress.
9. Seek Feedback
Don’t hesitate to ask for feedback on your projects, especially from experienced crafters or professionals. Constructive criticism can highlight areas needing improvement that you might have overlooked. Engaging with a community can also provide motivation and support. According to surveys, DIYers who actively seek feedback are 75% more likely to improve their skills. So, share your work, engage in discussions, and learn from others’ insights.
10. Document Your Journey
Keeping a record of your projects can be incredibly beneficial. Take photos or notes during the process, noting what worked well and what didn’t. This documentation will not only help you reflect on your projects but also serve as a valuable learning tool for future endeavors. Sharing your journey on social platforms can inspire others while also holding you accountable to continue improving.
📺 Resource Video
> For further insights: DIY Project Masterclass, a detailed guide into achieving professional results. Search YouTube for: DIY tips and tricks for beginners.
Checklist Before Starting Your DIY Project
- [ ] Gather all necessary tools and materials.
- [ ] Create a detailed project plan.
- [ ] Practice any new techniques before application.
- [ ] Keep all safety equipment handy.
- [ ] Take the necessary time to allow drying and assembling phases to complete.

HOMCOM 9 FT Christmas Tree, Flocked Hinged Xmas Tree with 1939 Tips, Steel Base, Auto Open, Green Aosom.com
aosom.com

HOMCOM 7.5ft Snow Flocked Artificial Christmas Tree, Pre-Lit Christmas Tree with 500 LED Lights and 1264 Branch Tips, Green
aosom.com

Ashworth Golf Stripe Fabric with Embossed Croc Tips - 40 / Blue/Natural
ashworth-golf.com
Glossary
| Term | Definition |
|---|---|
| Sanding | The process of smoothing surfaces by using abrasives. |
| Varnish | A clear, hard protective finish used primarily for wood surfaces. |
| Prototype | A first or preliminary version of a device or project used to test concepts before finalizing. |
> 🧠 Quick Quiz: What is the most important aspect of achieving pro-quality results in DIY?
> - A) The quality of materials.
> - B) The time spent.
> - C) The location of the project.
> Answer: A — The quality of materials directly impacts the final results.
Discover various products that can enhance your DIY adventures—explore our selected recommendations below for tools, finishes, and more!
📺 Pour aller plus loin : DIY tips and tricks for beginners sur YouTube
Recommended products
Selected by our experts
HOMCOM 9 FT Christmas Tree, Flocked Hinged Xmas Tree with 1939 Tips, Steel Base, Auto Open, Green Aosom.com
aosom.com
This Christmas tree provides a stunning centerpiece for holiday decor, making it a favorite among home decorators.
HOMCOM 7.5ft Snow Flocked Artificial Christmas Tree, Pre-Lit Christmas Tree with 500 LED Lights and 1264 Branch Tips, Green
aosom.com
Pre-lit and beautifully flocked, this tree simplifies holiday decorating while maintaining elegance.
Ashworth Golf Stripe Fabric with Embossed Croc Tips - 40 / Blue/Natural
ashworth-golf.com
This stylish accessory enhances any outfit, reflecting the quality craftsmanship that every DIY enthusiast appreciates.

4"/5" Turbo-Back 2013-2018 For Dodge Ram 6.7L Diesel DPF Delete Race Pipe SPELAB - 5'' Turbo-Back(Free Exhaust Tips)
spelabautoparts.com