Table of Contents (19 sections)
In today’s world, where individuality is prized, the allure of DIY (Do It Yourself) projects beckons enthusiasts and professionals alike. Whether you are building furniture, renovating a room, or crafting unique gifts, elevating your DIY skills to a professional level can make a significant difference. The following article provides you with ten essential tips that will transform your DIY projects from amateur to expert. By the end, you will be equipped to tackle any task with confidence and precision.
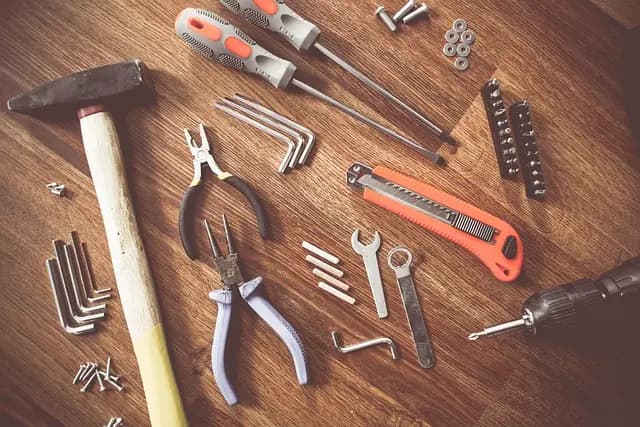
1. Invest in Quality Tools
One of the fundamental steps toward achieving professional DIY solutions is investing in high-quality tools. Cheap tools may save you money initially, but they often lead to subpar results and can be frustrating to work with. Consider tools that have a good reputation among professionals. For instance, a sturdy measuring tape, a reliable level, and a powerful drill can make tasks easier and more accurate. High-quality tools not only enhance your efficiency but also contribute to the longevity of your projects.
2. Master the Basics
Before diving into complex projects, make sure you have a solid grasp of the basics. Understanding different materials, joints, and finishes will enable you to make informed decisions as you embark on various projects. For example, knowing how to properly sand wood can make a significant difference in the quality of your finished product. Additionally, learning about the characteristics of different paints or stains can help you select the best options for your projects.

Professional Dishwasher Door Panel Kit for Viking FDWU524 Dishwasher - Cast Black
bestbuy.com

VVOR Professional Blender with Shield, Commercial Countertop Blenders, 68 oz Blender Combo, Stainless Steel 9 Speed & 5 Functions Blender, for
shop.simon.com

SPELAB EGR/DPF Delete Kit 2008-2010 Ford 6.4L Powerstroke F250 F350 F450
spelabautoparts.com
3. Research and Plan
Before starting any DIY project, take the time to conduct thorough research and create a detailed plan. Websites, forums, and even social media platforms are rich resources full of ideas and lessons learned from other DIYers. Look for step-by-step guides that match your skill level and desired outcome. Moreover, sketching your project or creating a list of necessary materials can prevent mistakes and wastage, ultimately saving you time and effort.
4. Use Professional Techniques
Once you're familiar with the basics, incorporate techniques used by professionals into your projects. Techniques such as proper cutting, sanding, and finishing can enhance visual appeal and durability. For example, using a miter saw for precise angles can give your pieces a polished look. Practice these methods to gain confidence. Consider following online tutorials that demonstrate advanced techniques, and don’t hesitate to experiment as you refine your skills.
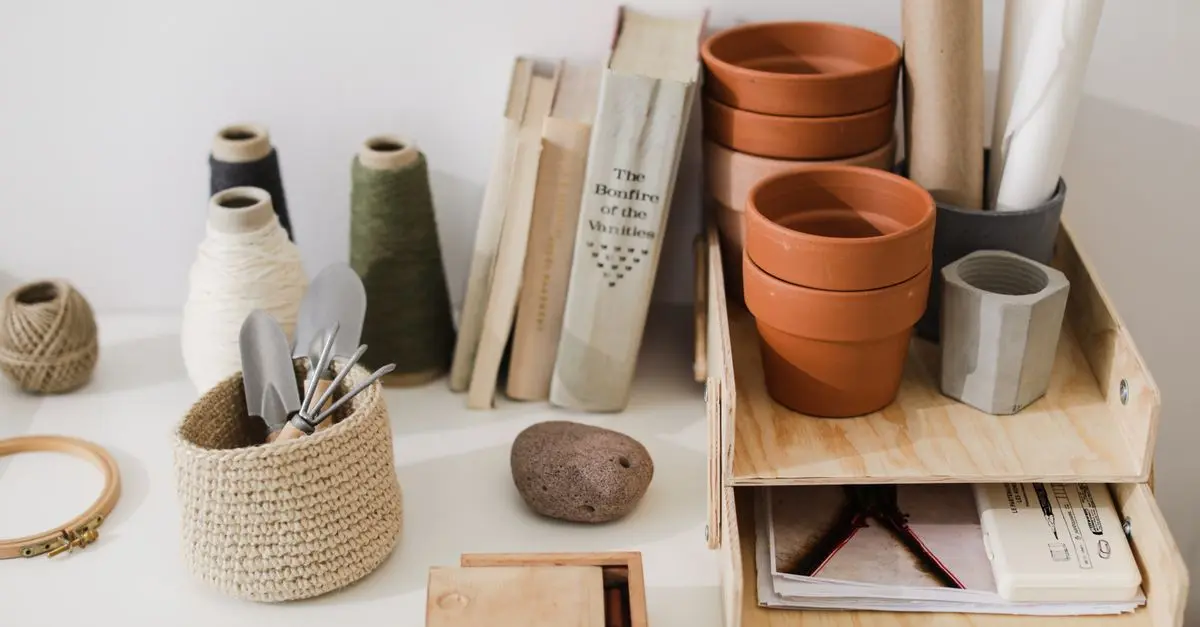
5. Choose the Right Materials
Selecting the appropriate materials is crucial for achieving professional results. Always consider the application and the intended use of your project. For instance, if building a piece of outdoor furniture, choose weather-resistant wood or materials that withstand the elements. Don’t skimp on quality; opting for higher-grade materials typically yields better results and increases the lifespan of your projects. Additionally, consult experts or guides about different material properties for a better understanding.
6. Prioritize Safety
Safety cannot be overstated when it comes to DIY projects. Always wear the appropriate safety gear based on the tasks at hand—safety glasses, gloves, and masks are essential for many projects. Familiarize yourself with the tools you are using and follow manufacturer instructions. Ensuring that your workspace is free of hazards will allow you to work with a peace of mind, knowing you are protected.

SPELAB EGR/DPF Delete Kit 2008-2010 Ford 6.4L Powerstroke F250 F350 F450 - Red / 4" Downpipe-Back
spelabautoparts.com

Metropolitan Vacuum Cleaner Co., Inc. Professional Car Vacuum and Dryer
sharperimage.com

Metropolitan Vacuum Cleaner Co., Inc. Professional Auto Detailing Vacuum
sharperimage.com
7. Pay Attention to Details
In professional craftsmanship, details matter significantly. Whether it’s achieving a smooth finish or ensuring that joints fit seamlessly, refining these details will make your projects stand out. Take the time to correctly measure and align your materials. Little touches, like using wood filler to fill gaps and sanding edges, can elevate the overall quality of your work. As you gain experience, you’ll find that these finer points can reflect your effort and expertise.
8. Seek Feedback
Don't hesitate to seek feedback from more experienced DIYers or professionals in your community. Constructive criticism is invaluable as it allows you to identify areas of improvement. Join local workshops or online forums where you can share your projects and ask for insights. Engaging with others not only improves your skills but also fosters a supportive network that can be beneficial as you tackle more challenging projects.
9. Document Your Process
Keeping a log of your projects can help track your progress over time. Take photos and note what worked and what didn’t, including the challenges you faced and how you overcame them. This documentation serves as an excellent reference for future projects. Over time, you will build a portfolio of work that showcases your growth, skills, and creativity.
10. Never Stop Learning
The world of DIY is ever-evolving, with new techniques, materials, and technologies emerging continually. Stay updated by reading articles, attending workshops, and watching instructional videos. Being part of online communities or local clubs can expose you to new ideas and approaches. The more you learn, the better your projects will turn out, and the more confident you will become in your skills.
Checklist Before Starting a DIY Project
- [ ] Choose high-quality tools
- [ ] Master basic techniques
- [ ] Research extensively and plan
- [ ] Use professional methods
- [ ] Select the right materials
- [ ] Prioritize safety
- [ ] Focus on details
- [ ] Seek feedback regularly
- [ ] Document your progress
- [ ] Commit to continuous learning
What are the essential tools for DIY projects?
Investing in quality tools is crucial. Essential tools include a reliable drill, saw, measuring tape, and level.
How do I select the best materials for my projects?
Consider the use and environment; materials should be appropriate for the project, such as weather-resistant options for outdoor items.
Is it important to wear safety gear while working on DIY projects?
Absolutely. Safety gear, including glasses, gloves, and masks, protects against injuries and ensures a safe working environment.
How can I improve my DIY skills?
Engaging in continuous learning through tutorials, practice, and community feedback will consistently enhance your skills.
Glossary
| Terme | Définition |
|---|---|
| DIY | Do It Yourself; refers to creating, building or repairing things on your own. |
| Miter Saw | A tool used to make accurate crosscuts and miters in a workpiece. |
| Wood Filler | A product used to fill cracks and holes in wood to create a smooth surface. |
📺 Resource Video
> 📺 To learn more: Step-by-step professional DIY techniques, explore detailed projects that transform spaces. Search on YouTube: "professional DIY techniques 2026".
📺 Pour aller plus loin : professional DIY techniques 2026 sur YouTube
Recommended products
Selected by our experts
Professional Blender, Commercial Countertop Blenders, 68 oz Glass Jar Blender Combo, Stainless Steel for Frozen Drinks
bedbathandbeyond.com
Professional Blender, Commercial Countertop Blenders, 68 oz Glass Jar Blender Combo, Stainless Steel for Frozen Drinks
bedbathandbeyond.com
Professional Blender, Commercial Countertop Blenders, 68 oz Glass Jar Blender Combo, Stainless Steel for Frozen Drinks
bedbathandbeyond.com

VEVOR - Blender for Smoothies, 61 oz 1400W, Professional Blender with Powerful Motor, Multi-Functional Food Processing Blender - Dark Gray
bestbuy.com

Professional Dishwasher Door Panel Kit for Viking FDWU524 Dishwasher - Slate Blue
bestbuy.com

Professional Dishwasher Door Panel Kit for Viking FDWU524 Dishwasher - Damascus Gray
bestbuy.com