Table of Contents (16 sections)
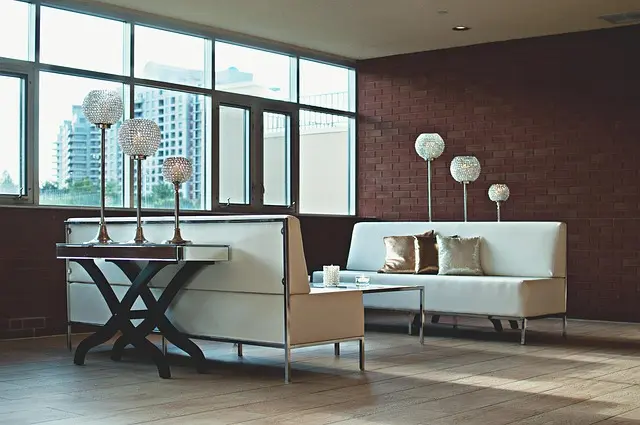
Upgrading your home doesn’t always require a professional contractor or a large budget. DIY solutions for home upgrades can significantly enhance both the aesthetics and functionality of your living space. Whether you're looking to increase your home's value, improve comfort, or simply refresh your environment, there are numerous projects that you can tackle yourself. This guide will walk you through several impactful DIY upgrades that mimic professional results.
Understanding the Importance of DIY Home Upgrades
What exactly are DIY home upgrades? Essentially, these are enhancements you make to improve your home's appearance, efficiency, or functionality. Many homeowners opt for DIY solutions to save cost while also experiencing the satisfaction of creating something valuable on their own.
There are multiple reasons why focusing on DIY solutions is beneficial: 1. Cost-Effectiveness: Contractors often charge a premium for labor, but tackling projects yourself reduces these costs significantly. 2. Customization: DIY allows you to tailor projects to your specific tastes and needs, rather than settling for pre-packaged solutions. 3. Learning Experience: Engaging in DIY projects equips you with new skills, adding value to your personal toolkit.
Statistics from recent housing surveys indicate that homes with renovated kitchens and bathrooms can yield up to a 70% return on investment (ROI) during resale (Source: Remodeling Magazine, 2025). Engaging in DIY projects not only improves everyday living but can also potentially increase your home's market value.
Step-by-Step DIY Kitchen Upgrade
Step 1: Assess and Plan Your Renovation
Before starting any DIY kitchen upgrade, assessing your current kitchen space and planning accordingly is essential. Begin by identifying the aspects you want to enhance. Are the cabinets outdated? Is the backsplash dull? Make a checklist of the improvements you envision.
Gather inspiration from design blogs or platforms like Instagram and Pinterest. Once you have a clear vision, sketch out a layout if you’re considering serious changes like moving appliances or adding new cabinetry. Professional tip: Utilize graph paper to create a to-scale sketch that can guide your placement.
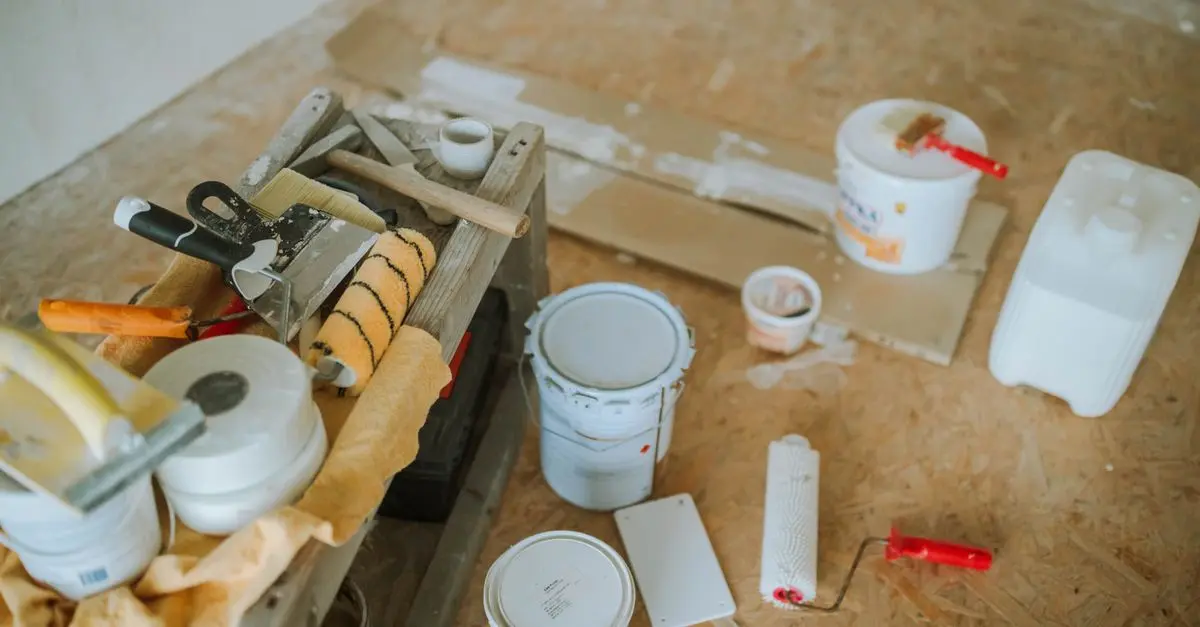
Step 2: Gather Tools and Materials
Your DIY kitchen upgrade will require specific tools and materials that you may not already have. Basic tools typically include:
- Screwdrivers: For installing hardware and fixtures.
- Drills: Needed for creating holes or assembling furniture.
- Measuring Tape: Essential for accurate measurements of your space.
- Leveling Tools: Ensure cabinets and shelves are straight.
- Drop Cloths and Painter’s Tape: Protect surfaces when painting or refinishing.
Make a shopping list of supplies based on your planned upgrades; it can involve paint, cabinet hinges, or backsplash tiles. Always opt for high-quality materials as they contribute to a more professional finish, thus producing lasting upgrades.
Step 3: Execute Cabinet Painting or Refacing
A popular DIY kitchen upgrade is painting or refacing cabinets, which can drastically alter the kitchen's look without the hefty price tag of replacement. Start by removing all cabinet doors, hardware, and drawers. Thoroughly clean all surfaces to ensure the paint adheres well.
Follow these steps for painting your cabinets:
- Sanding: Lightly sand the surfaces to create a rough texture for better adhesion.
- Priming: Apply a primer suitable for the type of paint you are using. This step is crucial for a smooth and durable finish.
- Painting: Use a foam roller for flat surfaces and a brush for detailed areas. Two coats might be necessary for full coverage.
Avoid common pitfalls by allowing adequate drying time between each coat, and consider using semigloss or satin finishes. They are not only aesthetically pleasing but also resistant to stains and easy to clean.
Step 4: Install New Hardware and Fixtures
Once you've completed the painting, it's time to replace old hardware with new handles and knobs. Choosing stylish hardware can accentuate your newly painted cabinets. Use the measuring tape to mark where the new hardware will go, ensuring uniformity across all cabinet doors.
For added elegance, consider installing soft-close hinges—these quiet closures enhance the sense of quality in your renovation. Additionally, adding a new kitchen faucet can be transformative. Follow the instructions included with your faucet for seamless installation.
Step 5: Update Your Backsplash
An updated backsplash can give your kitchen a fresh, modern look. Peel-and-stick tile is a great DIY-friendly option that requires minimal tools and skill. Simply clean the surface where you'll be adhering the tiles, then remove the backing and press each tile into place.
Cut any edges that need trimming with a utility knife for a perfect fit. Don’t rush this step; remember, a well-installed backsplash will amplify the appeal of your entire kitchen.
Sports Licensing Solutions 3 ft. W X 3 ft. L Black Anti-Fatigue Rubber Utility Mat
acehardware.com


Comparisons of Common DIY Upgrades
The following table summarizes various DIY home upgrades and the potential impacts they can have:
| Upgrade Type | Cost Estimate | DIY Difficulty | Potential ROI |
|---|---|---|---|
| Kitchen Painting | $200-$400 | Moderate | 70% |
| Bathroom Refreshing | $150-$300 | Moderate | 60% |
| Home Office Upgrade | $200-$500 | Easy | 50% |
| Landscape Improvements | $100-$800 | Moderate | 75% |
Addressing FAQs About DIY Home Upgrades
How can I determine which upgrades will yield the best ROI?
Evaluating local real estate trends can help. Improvements in high-demand areas, like kitchens and bathrooms, generally produce better returns.
What tools are essential for DIY projects?
Key tools include a power drill, screws and fasteners, painting tools, and measuring instruments.
Are there safety tips I should follow while working on DIY upgrades?
Always wear appropriate safety gear including gloves, goggles, and masks when necessary. Ensure your workspace is well-ventilated, especially when using paints or adhesives.
Can I undertake a DIY project without prior experience?
Absolutely! Many DIY projects are designed to be user-friendly. A wealth of online videos and tutorials are available to guide you.
Glossary
| Term | Definition |
|---|---|
| ROI | Return on Investment; measure of profitability on an investment. |
| Peel-and-stick | Type of tile or wallpaper easy to apply without adhesive. |
| Soft-close | Features that allow doors and drawers to close gradually. |
Checklist Before Starting Your DIY Upgrade
- [ ] Assess your current home décor.
- [ ] Create a list of upgrades you’d like.
- [ ] Gather necessary tools and materials.
- [ ] Review online tutorials for guidance.
- [ ] Ensure safety gear is ready to use.
📺 For further exploration: DIY Kitchen Remodel Ideas, a comprehensive guide to upgrading your kitchen on YouTube: search for


Clinique Blackhead Solutions 7 Day Deep Pore Cleanse & Scrub for All Skin Types - 125ml
clinique.com

Clinique UV Solutions Hydrating Sunscreen Broad Spectrum SPF 50 - 40 ML
clinique.com
Recommended products
Selected by our experts


Clinique Redness Solutions Makeup Broad Spectrum SPF 15 With Probiotic Technology, Calming Honey - 1 fl. oz./30 ml
clinique.com