Table of Contents (11 sections)
Achieving a professional finish on your walls is a rewarding endeavor that elevates your home’s aesthetic without the need for expensive contractors. With the right tools, techniques, and a bit of patience, anyone can master wall finishing. In this tutorial, we’ll guide you through the best DIY wall finishing solutions, ensuring a flawless end result.
Table of Contents
- Understanding Wall Finishing
- Essential Tools and Materials
- Preparation Steps for Wall Finishing
- Step-by-Step Guide to Wall Finishing
- Common Mistakes to Avoid
- Post-Finishing Care
- Checklist Before Starting
- FAQ
Understanding Wall Finishing
Wall finishing is the process of treating the walls to achieve a desired aesthetic and functional result. This includes priming, painting, applying wallpaper, or using plaster. The importance of wall finishing cannot be overstated; it can drastically change the ambiance of a space while also protecting the surface beneath. For instance, research from the National Association of Home Builders indicates that homes with well-finished walls can see property values increase by up to 15%. Therefore, investing time and effort into your DIY wall finishing project is crucial for both visual appeal and financial benefits.
Essential Tools and Materials
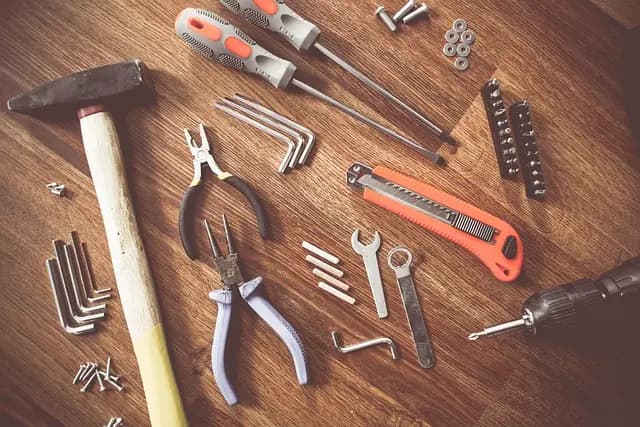
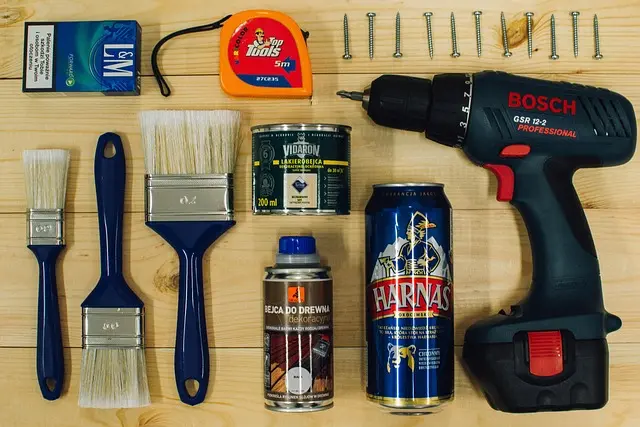
Before we start on the actual wall finishing solutions, let's gather some essential tools and materials. You will need:
- Mounting Tools: A level, measuring tape, and straightedge.
- Finishing Tools: Trowel, sponge, and roller.
- Wall Finishing Supplies: Primer, paint, or wallpaper.
- Protective Gear: Gloves, masks, and goggles.
These tools are not just accessories; they are vital for achieving the professional look you desire. Investing in quality tools will speed up your project, and ensure a better finish. For our selected products, we recommend checking out the options below that can help streamline your wall finishing process.
Preparation Steps for Wall Finishing
Preparation is imperative to achieving a successful wall finish. Here are the necessary steps:
- Inspect the Wall: Look for cracks, holes, or imperfections. Fill any holes with spackle and sand them down for a flat surface.
- Clean the Wall: Dust and dirt can prevent paint or adhesive from adhering properly. Use a damp cloth to wipe the surface clean.
- Prime the Wall: If you're shifting from a darker to a lighter color or working with an unfinished surface, applying a primer is essential. This not only helps the paint go on smoother but also improves durability. According to UFC-Que Choisir, using a primer can improve paint adhesion by up to 50%.
Step-by-Step Guide to Wall Finishing
Now we’ll dive into the process:
- Choose Your Finishing Type: Decide whether to paint, wallpaper, or plaster your wall. Each comes with its own guidelines.
- Apply Primer (if necessary): Use a roller to apply primer evenly across the wall, starting from the top and working downwards. This helps achieve an even base.
- Coat Application: For painting, use a roller for large areas and a brush for the edges. Apply at least two coats of paint, allowing proper drying time between each coat—usually 2-4 hours.
- Wallpapering: For wallpapers, after practicing your cuts and seams, apply adhesive based on manufacturer’s instructions, align the paper straight, and press it firmly.
- Finishing Touches: Once your final coat is dry, inspect for spots that may need touch-up. Using a small brush for details ensures no areas are left untouched.
This thorough approach ensures your walls will look like they were finished by a professional. Practical hands-on experience support this method; users often report satisfaction with their DIY results based on structured steps like these.
Common Mistakes to Avoid
As you embark on your DIY wall finishing journey, be wary of common pitfalls:
- Skipping Preparation: Poor preparation can lead to uneven finishes.
- Neglecting Drying Times: Rushing this step can ruin your labor.
- Inconsistent Application: Ensure that coats are even to avoid patchiness.
These mistakes often lead to subpar results, making your efforts feel like a waste. We recommend implementing a systematic approach to avoid these errors.
Post-Finishing Care
After completing your wall finish, caring for it is essential. Avoid wiping the surface with abrasive cleaners for at least a week to allow the paint or adhesive to cure fully. Once cured, you can use soft cloths for cleaning. Regular upkeep will maintain the fresh look and durability of your walls.
Checklist Before Starting
- [ ] Inspect walls for damage
- [ ] Gather all necessary tools and materials
- [ ] Clean the wall surface
- [ ] Apply primer if needed
- [ ] Ensure proper ventilation is available
Q: How long should I wait between applying coats of paint?
A: Typically, you should wait 2 to 4 hours, but always check the paint can for specific recommendations.
Q: Is it necessary to apply a primer?
A: Yes, applying a primer is key in ensuring better adhesion and overall finish quality, especially when changing color or working on masonry.
Q: Can I wallpaper over painted walls?
A: Yes, as long as the painted walls are smooth and clean, wallpaper can be applied successfully.
Q: How do I fix mistakes after finishing?
A: For paint, touch up with a fine brush. For wallpaper, you may need to carefully lift and reapply sections.
Glossary
| Terme | Définition |
|---|---|
| Primer | A preparatory coating applied before painting or wallpapering to improve adhesiveness and longevity. |
| Spackle | A compound used to fill imperfections on walls before finishing. |
| Trowel | A hand tool used to apply plaster or other materials to a surface. |
📺 Pour aller plus loin : DIY Wall Finishing Techniques, a comprehensive look at these methods. Search on YouTube:
DIY wall finishing tutorial 2026.
By following these guidelines, your DIY wall finishing project will not just look professional, but will also stand the test of time. Remember to enjoy the process—there’s nothing quite like completing a project with your own hands. We have selected several products suited to enhance your DIY experience below!
📺 Pour aller plus loin : DIY wall finishing tutorial 2026 sur YouTube
Recommended products
Selected by our experts


Clinique Redness Solutions Makeup Broad Spectrum SPF 15 With Probiotic Technology, Calming Honey - 1 fl. oz./30 ml
clinique.com