Table of Contents (9 sections)
Creating professional finishes in your DIY projects is crucial for achieving that polished, high-quality look that transforms standard projects into truly remarkable works. This guide explores various techniques designed to help you execute impeccable finishes, ensuring you can impress yourself, your friends, and your clients.
1. Understanding the Importance of Finishes
A professional finish goes beyond mere aesthetics; it signifies quality, craftsmanship, and attention to detail. When you invest time into perfecting your project’s finishing touches, it reflects your commitment to quality. According to industry experts, around 70% of consumer satisfaction is derived from external appearances, with well-finished projects standing out. Therefore, taking the time to understand and implement finishing techniques can significantly increase the perceived value of your DIY efforts. A clean and smooth finish can elevate your work, making simple projects look professional and aesthetically pleasing.
2. Preparing Your Surface Properly
Before applying any finish, proper surface preparation is essential. This means sanding the surface to create a smooth base. Start with a coarse grit sandpaper to remove any imperfections, then gradually move to finer grits for a silky surface. Tip: Always sand in the direction of the grain to prevent visible scratches. For wooden surfaces, finishing with 220-grit sandpaper can provide a perfect foundation. Furthermore, clean the surface thoroughly to remove dust or debris, as these can ruin the finish and lead to poor adhesion. This applies equally to painting, staining, or any type of finish application, where clean surfaces ensure better results.
3. Choosing the Right Finishing Products
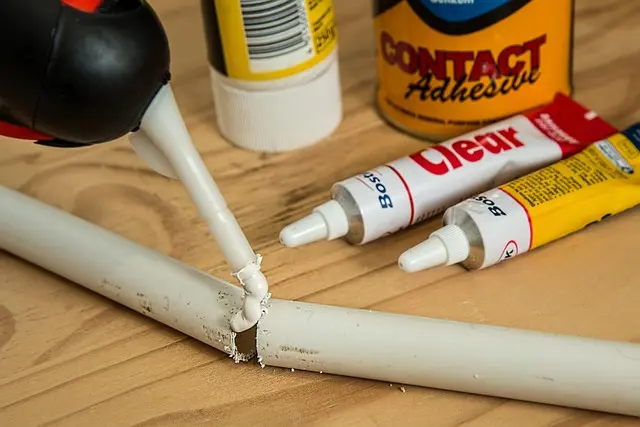
Selecting the right finishing products is pivotal. When choosing stains, paints, or sealers, consider their suitability for your specific project. High-quality products often contain superior pigments and binders that enhance durability and aesthetic appeal. For instance, oil-based finishes typically provide a richer appearance but can take longer to dry compared to water-based equivalents. Graphic: Investing in a good primer can also significantly affect the final outcome by ensuring even color distribution and preventing the substrate from bleeding through.
| Product Type | Oil-Based | Water-Based | Verdict |
|---|
4. Mastering Application Techniques
Mastering the application techniques is where the magic happens. Whether you’re painting, staining, or sealing, the method significantly influences the outcome. When using a brush, choose the right type; synthetic bristles work well for water-based products while natural bristles are better for oil-based finishes. Always apply in thin, even layers. Pro Tip: For painting, use a technique called ‘tipping off’ where you lightly drag a clean brush over areas to smooth out the finish after applying the paint. This technique helps eliminate brush strokes, ensuring a smooth appearance.
5. Finishing Touches: Quality Control
After applying your finish, it’s vital to allow adequate drying time as indicated on the product labels. Rushing this process can lead to dull spots or streaks in your finish. Once dry, inspect your work under different lighting conditions to identify any imperfections. If necessary, perform a light sanding and apply another coat for a flawless finish. Ensure you also clean your tools immediately after use to maintain their condition for future projects. This attention to detail can make a considerable difference in the final quality of your work.
6. Common Pitfalls to Avoid
When working toward professional finishes in DIY projects, there are common pitfalls to be aware of:
- Skipping the prep work: Neglecting this can lead to uneven finishes.
- Rushing through the drying process: This might yield poor results.
- Ignoring environmental conditions: Humidity and temperature can greatly affect drying times and finish quality.
- Using the wrong tools: A poor application tool can ruin an otherwise good finish.
By avoiding these mistakes, you can improve the likelihood of achieving the professional results you desire.
Checklist before finishing your DIY projects
- [ ] Ensure the surface is clean and sanded.
- [ ] Choose the appropriate finishing product.
- [ ] Apply in thin, even layers for best results.
- [ ] Allow ample drying time between coats.
- [ ] Inspect your work under good lighting conditions.
📺 For more insights:
Check out videos on finishing techniques, offering visual guides and tips on how to apply these concepts effectively. Search on YouTube for: professional DIY finishing techniques 2026.

Metropolitan Vacuum Cleaner Co., Inc. Professional Car Vacuum and Dryer
sharperimage.com

Metropolitan Vacuum Cleaner Co., Inc. Professional Auto Detailing Vacuum
sharperimage.com
Professional Blender, Commercial Countertop Blenders, 68 oz Glass Jar Blender Combo, Stainless Steel for Frozen Drinks
bedbathandbeyond.com
Glossary
| Term | Definition |
|---|---|
| Finish | The final coat applied to a surface for aesthetics and protection. |
| Primer | A preparatory coating applied before paint or finish to ensure adhesion. |
| Sealer | A transparent coating applied to protect the underlying material. |
---
📺 Pour aller plus loin : professional DIY finishing techniques 2026 sur YouTube
Recommended products
Selected by our experts

VEVOR - Blender for Smoothies, 61 oz 1400W, Professional Blender with Powerful Motor, Multi-Functional Food Processing Blender - Dark Gray
bestbuy.com

Professional Dishwasher Door Panel Kit for Viking FDWU524 Dishwasher - Cast Black
bestbuy.com

Professional Dishwasher Door Panel Kit for Viking FDWU524 Dishwasher - Slate Blue
bestbuy.com

Professional Dishwasher Door Panel Kit for Viking FDWU524 Dishwasher - Damascus Gray
bestbuy.com

Professional Dishwasher Door Panel Kit for Viking FDWU524 Dishwasher - Stainless Steel
bestbuy.com