Table of Contents (9 sections)
DIY solutions for home repairs not only save you money but also empower you to take control of your living space. Whether you're fixing a leaky faucet, patching drywall, or upgrading your home’s fixtures, having the right techniques can make all the difference. In this comprehensive guide, we will explore various effective DIY methods, share common pitfalls, and provide you with actionable steps to complete your home repairs successfully.
Step 1: Assess the Problem
Before diving into any repair, the first step is to thoroughly assess the issue at hand. Start by identifying the specific problem. Is it a plumbing issue, a structural concern, or perhaps a cosmetic fix? According to the National Association of Home Builders, nearly 50% of DIYers tackle plumbing issues, followed closely by electrical repairs and painting jobs.
Take a moment to gather your thoughts and tools. Having a notepad or a checklist can help you visualize the problem and plan your approach. Don't forget to consider safety. If the repair involves electrical components, ensure that you turn off the power at the source. Always prioritize safety over speed. Seek professional help for repairs beyond your comfort level to avoid dangerous situations.
Step 2: Gather Your Tools and Materials
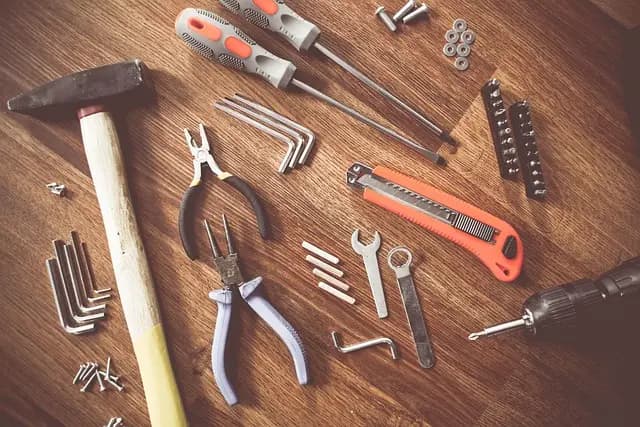
Once you’ve assessed the problem, it’s time to gather the necessary tools and materials. Depending on the type of repair, this could range from simple hand tools to specialized equipment. Here’s a list of commonly needed items that you should keep handy:
- Basic tools: Hammer, screwdrivers, pliers, and wrenches
- Safety gear: Gloves, goggles, and masks
- Repair materials: Nails, screws, caulk, paint, and patching compound
- Tape measure and level: For ensuring precision in your measurements
Professional Tip: Instead of buying all new tools, consider borrowing or renting them if they are meant for one-time use. Local home improvement centers often have rental services that can save you money.
Step 3: Research Your Repair
Knowledge is power in DIY home repairs. Take advantage of the wealth of information available online. Websites like YouTube and DIY forums provide step-by-step guides and video tutorials for a wide array of home repair projects. Engaging in this research not only prepares you for the task but can also help you troubleshoot potential problems you may encounter during the repair.
Make sure to read reviews and check out multiple sources to ensure that the methods you plan to employ are reliable. If possible, learn about the materials you're going to use. Each material has its strengths and weaknesses, which can affect the quality of the repair.
Step 4: Execute the Repair
Now comes the moment of truth: executing the repair. Follow the steps you've gathered while ensuring that you stick to safety protocols. For example, when replacing a toilet, ensure that the water is turned off and the tank is empty before beginning. When patching drywall, apply compound evenly and sand it down for a smooth finish before painting.
Common Pitfalls:
- Rushing the repair can lead to mistakes. Don’t hesitate to take breaks if needed.
- Not using enough or the right materials can result in failure. Check the manufacturer's recommendations.
Remember to document the repair process. This could serve as a useful reference for future repairs or upgrades.
Step 5: Clean Up and Review
After completing the repair, take a moment to clean your work area. Dispose of any waste materials properly and put your tools back in their designated places. Then, assess your work. Did you follow all the steps effectively? Is the problem resolved? If you find areas for improvement, note them down for future reference.
Don't forget to celebrate your accomplishment! Completing a DIY repair can boost your confidence and motivate you for future projects.
Final Checklist Before Starting Any DIY Repair
- [ ] Assess the problem thoroughly.
- [ ] Gather all necessary tools and materials.
- [ ] Research and watch tutorials.
- [ ] Execute the repair carefully, following steps.
- [ ] Clean up the work area.
- [ ] Review the completed repair.
Suggested Products
In our catalogue, we have selected several products adapted for your DIY projects. Be sure to check out these helpful tools and materials that can make your home repairs easier and more efficient.
Glossary
| Term | Definition |
|---|---|
| DIY |
---
📺 Pour aller plus loin : DIY home repairs tips for beginners 2026 sur YouTube
Recommended products
Selected by our experts


Clinique Redness Solutions Makeup Broad Spectrum SPF 15 With Probiotic Technology, Calming Honey - 1 fl. oz./30 ml
clinique.com