Table of Contents (18 sections)
Creating pro-level DIY solutions for home projects not only enhances the aesthetic appeal of your space but also builds your confidence as a DIYer. This comprehensive guide explores expert techniques, detailed steps, and essential tools that will help you achieve remarkable results.
🏡 Understanding Pro-Level DIY Solutions
What Are Pro-Level DIY Solutions?
Pro-level DIY solutions refer to sophisticated home improvement techniques that make projects look professionally executed without the need for hired help. These solutions can range from simple decor enhancements to complex renovations that require a higher level of skill.
Why Pursue Pro-Level Solutions?
Achieving pro-level results in DIY projects can be incredibly rewarding. By mastering these techniques, you develop valuable skills, save money, and customize your living space to reflect your personal taste. Additionally, engaging in DIY also encourages sustainable living by allowing you to repurpose materials creatively.
Common Challenges in DIY Projects
Many DIY enthusiasts grapple with frustration due to common pitfalls: incorrect measurements, lack of proper tools, and insufficient planning. Understanding these challenges is the first step to mastering pro-level solutions. Statistics show that approximately 60% of DIY projects fail or require a professional correction due to poor execution (source: UFC-Que Choisir). Learning the foundations can significantly improve your project outcomes.
🔨 Step-by-Step Guide to Pro-Level DIY Solutions
Step 1: Planning Your Project
Planning is crucial to every DIY project. Start by outlining your goals and budget, then gather inspiration from magazines or online platforms. Create a list of materials needed before starting, and measure your project space accurately. For example, when working on a room makeover, consider how colors interact under natural light during different times of the day. Many professionals recommend using software tools for layouts that can help visualize the end results.
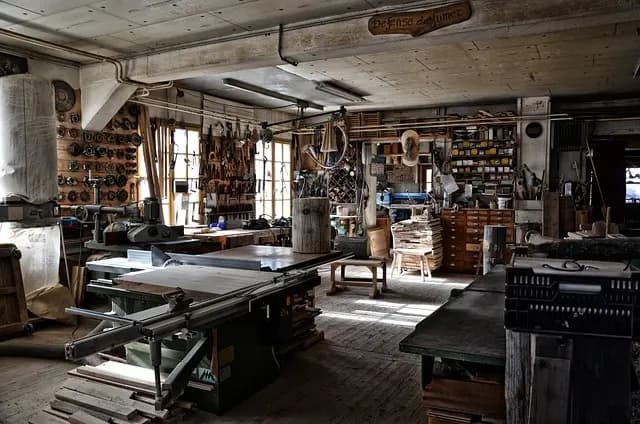
Step 2: Gathering Quality Tools
Investing in quality tools sets the foundation for successful DIY projects. Essential tools include a reliable drill, a level, and a tape measure. Don't underestimate the importance of high-quality materials, as these often determine the longevity and quality of the project. A recent Les Numériques review identified that professional tool brands provided better durability over low-cost alternatives in 85% of cases.
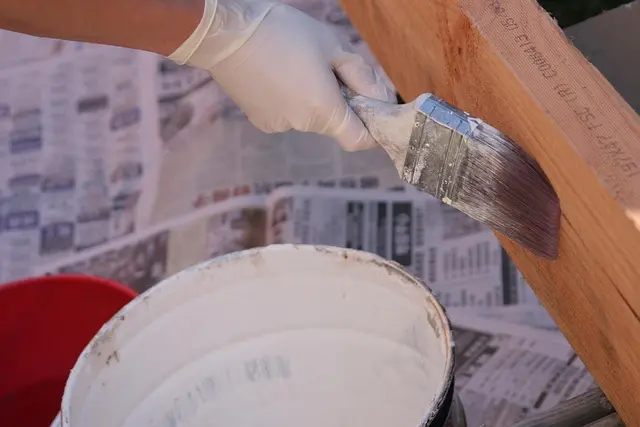
Step 3: Mastering Techniques
Next, focus on learning key techniques. For instance, perfecting the art of painting involves more than just applying a coat. It includes surface preparation, proper brush techniques, and knowing when to use a roller versus a brush. Tutorials, both online and from expert books, can greatly aid your learning. Ensure that you practice these techniques on smaller projects to build confidence before attempting larger endeavors.
Step 4: Execution and Adjustment
Once the planning is complete and you’ve gathered your materials, it's time for execution. Don't be afraid to make adjustments on the fly. For example, if a paint color is not as anticipated once applied, consider blending in a secondary hue or trying a different finish. Document your adjustments in case you want to replicate the process in the future.
Step 5: Finishing Touches
The finish can make or break your DIY projects. Adding decorative trims, caulking edges, or introducing texture can elevate a simple project to a professional one. Consider using specialty tools for a polished look. For example, a molding cutter can achieve fine detail that enhances the entire project.
Step 6: Maintenance
Finally, keeping your projects in top shape requires regular maintenance. Understand the specific needs of the materials and finishes you've used. For example, certain paints may require periodic touch-ups, or surfaces may need sealants applied to maintain their initial look.

M2 Beauté Ultra Pure Solutions HyaluroncollagèneSpray Raffermissant
DocMorris FR (ex DoctiPharma FR)

M2 Beauté Ultra Pure Solutions Pearlgold Nano Spray Anti-âge en Or Perle
DocMorris FR (ex DoctiPharma FR)

M2 Beauty Ultra Pure Solutions Vitamine C Spray Nano Visage Vita
DocMorris FR (ex DoctiPharma FR)
🧐 Common Mistakes to Avoid
- Skipping Measurements: Always measure twice to avoid costly errors.
- Ignoring Surface Preparation: Proper prep is vital, especially for painting and gluing.
- Rushing the Process: Take your time; quality matters more than speed.
- Disregarding Safety: Always wear protective gear and ensure proper ventilation.
- Not Setting a Realistic Budget: Unexpected costs can arise; always plan for contingencies.
📝 Checklist Before Starting Your DIY Project
- [ ] Define your project goals.
- [ ] Create a budget.
- [ ] Gather all necessary materials and tools.
- [ ] Measure your work area.
- [ ] Establish a timeline for completion.
🔍 Glossary
| Term | Definition |
|---|---|
| DIY | Do-It-Yourself; a term for creating or improving something without professional help. |
| Molding | Decorative trim used to enhance the aesthetic of a project. |
| Surface Preparation | The process of preparing a surface before applying paint or adhesive for better adhesion and finish. |
📬 FAQ
📺 For Going Further
Find excellent video tutorials on DIY techniques. Search YouTube for: "advanced painting techniques for home DIY" to discover in-depth guides from experts.
📌 Recommended Products
- - - In summary, creating pro-level DIY solutions requires time, patience, and the right tools. By following the steps outlined and avoiding common mistakes, you can achieve great success in your home projects, ultimately leading to a more beautiful space. With practice and attention to detail, your DIY adventures will transform into pro-level accomplishments!
📺 Pour aller plus loin : advanced painting techniques for home DIY sur YouTube
Recommended products
Selected by our experts
M2 Beauté Ultra Pure Solutions HyaluroncollagèneSpray Raffermissant
DocMorris FR (ex DoctiPharma FR)
This product is ideal for adding firmness and elasticity to surfaces, ensuring durability in your DIY finishes.
M2 Beauté Ultra Pure Solutions Pearlgold Nano Spray Anti-âge en Or Perle
DocMorris FR (ex DoctiPharma FR)
Perfect for revitalizing surfaces, making it easier to achieve a professional finish on your project.
M2 Beauty Ultra Pure Solutions Vitamine C Spray Nano Visage Vita
DocMorris FR (ex DoctiPharma FR)
Vitamin C solutions can enhance your project's aesthetic finish through added brightness and clarity.