Table of Contents (9 sections)
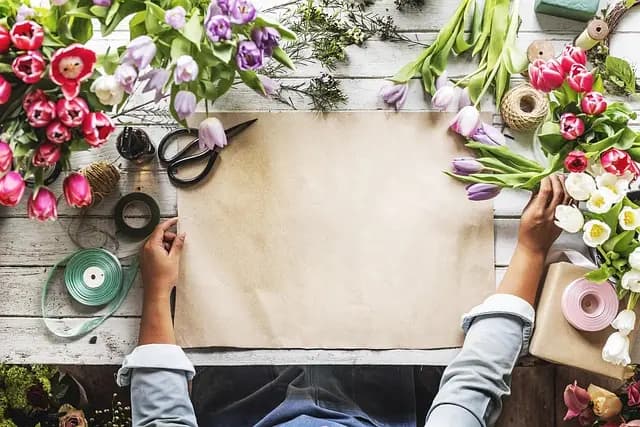
DIY projects can often feel overwhelming, especially when aiming for that professional finish. However, integrating professional techniques in DIY projects can significantly enhance your results, making them look polished and well-executed. In this guide, we will explore various methods and practices employed by professionals that you can easily incorporate into your projects at home.
1. Understand the Importance of Planning
Before diving into any DIY project, it's critical to plan ahead. This step may seem mundane, but it's the backbone of any successful project. Professionals always begin with a clear blueprint or design plan. Knowing exactly what you need helps avoid unnecessary spending, reduces errors, and keeps your project on track.
Start by outlining your project scope. Identify the materials required, tools needed, and a timeline for completion. For instance, if you're building a piece of furniture, sketch out the design with precise measurements. It might be helpful to create a materials list that includes wood type, screws, adhesive, and any finish you want to apply.
Additionally, a solid plan allows you to foresee potential challenges. By doing this, you can identify what professional tools like clamps or sanders you might need ahead of time to ensure everything goes smoothly. Remember, by investing time upfront in planning, you can save hours of frustration later.
2. Choose the Right Tools
Utilizing the right tools can make a world of difference in the quality of your DIY projects. Professionals often rely on high-quality tools that offer precision and durability. Investing in a selection of essential tools—like a professional blender for mixing adhesive or finishes, for example—can lead to better results in your projects.
Not only does the right equipment improve efficiency, but it also enhances your safety. High-quality tools typically come with better safety features and simpler usage instructions, reducing the likelihood of accidents. Some examples of essential tools include:
- Power drills: Ensure you have a variable speed drill for greater control.
- Saws: Depending on the material, a circular saw, jigsaw, or table saw may be required.
- Measuring tools: Accurate measurements can mean the difference between a project being seamless or requiring extensive edits.
Remember, while it might be tempting to go for the cheaper option, high-quality tools tend to last longer and provide superior performance.

Metropolitan Vacuum Cleaner Co., Inc. Professional Car Vacuum and Dryer
sharperimage.com

Metropolitan Vacuum Cleaner Co., Inc. Professional Auto Detailing Vacuum
sharperimage.com
Professional Blender, Commercial Countertop Blenders, 68 oz Glass Jar Blender Combo, Stainless Steel for Frozen Drinks
bedbathandbeyond.com
3. Master Basic Techniques
Before jumping into complex projects, it’s wise to master fundamental techniques that professionals rely on. Techniques like proper measuring, cutting, and finishing can all enhance your DIY skills dramatically.
For example, measuring accurately is crucial. The saying, 'measure twice, cut once,' holds great importance in the world of DIY. Any miscalculations can lead to wasted materials and time.
Next, consider the cutting techniques you are using. A straight edge can help in making precise cuts, while methods like scoring and snapping may be applicable for thinner materials. Finally, don’t overlook the finishing techniques—sanding, staining, and sealing surfaces can elevate your project from amateur to professional-looking.
4. Apply Finishing Touches with Professional Products
Investment in high-quality finishes can significantly impact the aesthetic appeal of your DIY project. Professionals often use premium paints, stains, or varnishes that provide a robust protective layer and superior finish. When applying these finishes:
- Ensure surfaces are well-prepared; sand and clean to eliminate imperfections.
- Pay attention to application technique—using the right brushes or sprayers can create an even coat.
- Consider professional-quality products which might save you time and provide a more durable finish.
Using products specifically designed for certain materials can also enhance the longevity and visual appeal of your project. Explore our recommended products below that can assist in this area.
5. Troubleshooting Common DIY Issues
As with any project, problems may arise along the way. Experienced DIYers know how to troubleshoot effectively, and you can too by preparing yourself with some knowledge ahead of time. Common issues include:
- Uneven surfaces: Sanding or filling holes can often solve this. Always check for evenness before moving forward with the finish.
- Poor adhesion: If you notice peeling or bubbling on your surfaces, it may indicate that previous preparation issues are to blame. Reseal or repaint with caution.
Handling these issues with a calm, problem-solving attitude rather than frustration is a hallmark of professional skill.
6. Checklist for Professional-Like DIY Results
To ensure your projects benefit from professional techniques, follow this actionable checklist:
- [ ] Create a detailed project plan
- [ ] Gather all necessary tools and materials
- [ ] Master basic skills: measuring, cutting, finishing
- [ ] Select premium-quality finishes
- [ ] Check for common issues during and after completion
By managing your expectations and preparing adequately, you can more effectively execute your DIY plans.
Professional Blender, Commercial Countertop Blenders, 68 oz Glass Jar Blender Combo, Stainless Steel for Frozen Drinks
bedbathandbeyond.com
Professional Blender, Commercial Countertop Blenders, 68 oz Glass Jar Blender Combo, Stainless Steel for Frozen Drinks
bedbathandbeyond.com

VVOR Professional Blender with Shield, Commercial Countertop Blenders, 68 oz Blender Combo, Stainless Steel 9 Speed & 5 Functions Blender, for
shop.simon.com
Glossary
| Terme | Définition |
|---|---|
| Adhésion | Capacité d'un matériau à se fixer à un autre. |
| Finition | Application de produits pour améliorer l’apparence et la durabilité. |
| Mesure | Processus d'évaluation de la taille ou de la quantité d'un élément. |
📺 Pour aller plus loin : Exploring Professional Techniques in DIY, une analyse complète de comment intégrer des méthodes professionnelles dans vos projets DIY. Recherchez sur YouTube : "professional techniques in DIY projects 2026".
🧠 Quiz rapide : Quelle est l'étape la plus importante avant de commencer un projet DIY ?
- A) Choisir les couleurs
- B) Mesurer les matériaux
- C) Finir le projet
Réponse : B — Mesurer les matériaux est crucial pour éviter les erreurs.
📺 Pour aller plus loin : professional techniques in DIY projects 2026 sur YouTube
Recommended products
Selected by our experts

VEVOR - Blender for Smoothies, 61 oz 1400W, Professional Blender with Powerful Motor, Multi-Functional Food Processing Blender - Dark Gray
bestbuy.com

Professional Dishwasher Door Panel Kit for Viking FDWU524 Dishwasher - Cast Black
bestbuy.com

Professional Dishwasher Door Panel Kit for Viking FDWU524 Dishwasher - Slate Blue
bestbuy.com

Professional Dishwasher Door Panel Kit for Viking FDWU524 Dishwasher - Damascus Gray
bestbuy.com

Professional Dishwasher Door Panel Kit for Viking FDWU524 Dishwasher - Stainless Steel
bestbuy.com