Table of Contents (15 sections)
In the world of home improvement, mastering professional DIY techniques can make all the difference. It's not just about having the right tools; it's about understanding methods that can elevate your work to a professional level. This blog will guide you through essential techniques that enhance the quality of your home projects, ensuring they are not only successful but also enjoyable.
Step 1: Planning Your Project
Before diving into any DIY project, proper planning is paramount. Begin by defining your goal—whether it's building a new deck, repainting a room, or installing cabinetry. Break down your overall project into manageable tasks. For each of these tasks, create a timeline that includes every step from gathering materials to the final touches. Utilizing tools like Gantt charts or project management apps can help visualize your progress and ensure nothing is overlooked.
Furthermore, familiarize yourself with local building codes and regulations, as this can save you time and potential fines later. According to HomeAdvisor, approximately 33% of DIY projects encounter delays due to regulatory issues, so don’t be among them.
Checklist for Planning
- [ ] Define the project scope
- [ ] Gather necessary materials
- [ ] Create a timeline
- [ ] Research local regulations
Step 2: Selecting High-Quality Materials
The quality of the materials you choose directly impacts the results of your DIY project. Investing in professional-grade materials, rather than opting for the cheapest options, can enhance both the longevity and finish of your work. For example, high-quality paint can provide better coverage and finish than its cheaper counterpart, often requiring fewer coats and thus saving time in the long run. Accordingly, many experts from UFC-Que Choisir recommend choosing branded materials where reliability is vital.
Research alternatives and seek out materials that are both durable and suitable for your specific project needs. You might consider consulting professionals for recommendations, especially when venturing into materials that require a high level of expertise, like electrical wiring or plumbing fixtures.
Common Mistakes to Avoid
- Choosing the cheapest materials available
- Not understanding the specifications of required materials
- Overlooking sustainable options

Metropolitan Vacuum Cleaner Co., Inc. Professional Car Vacuum and Dryer
sharperimage.com

Metropolitan Vacuum Cleaner Co., Inc. Professional Auto Detailing Vacuum
sharperimage.com
Professional Blender, Commercial Countertop Blenders, 68 oz Glass Jar Blender Combo, Stainless Steel for Frozen Drinks
bedbathandbeyond.com
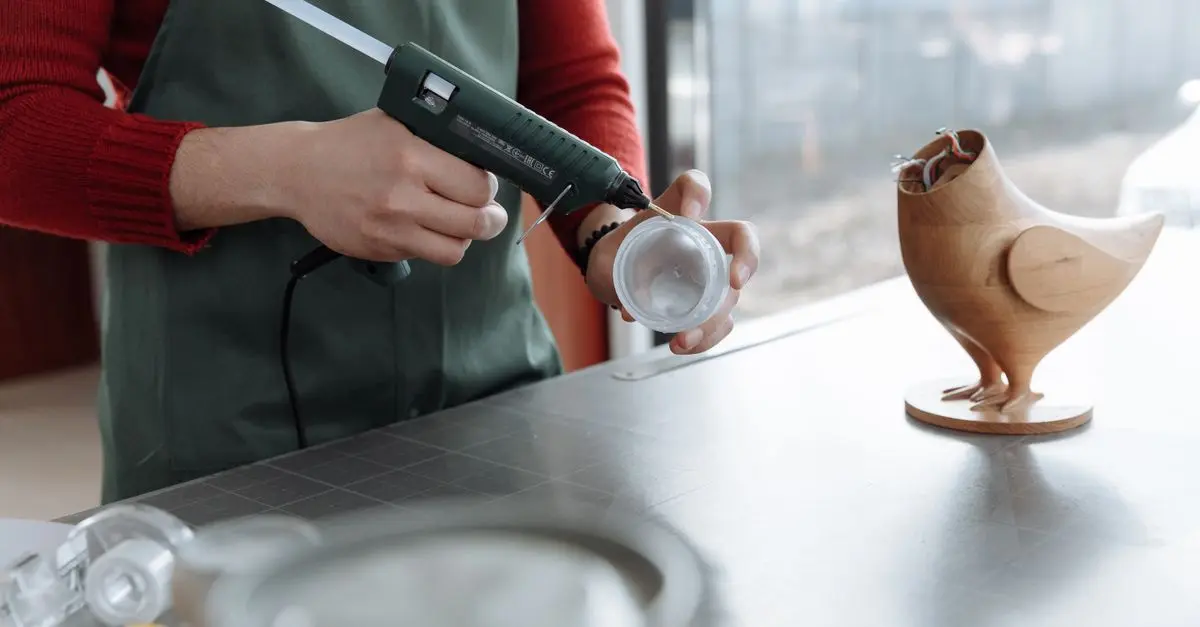
Step 3: Mastering Essential Tools
A successful DIY project requires the right tools. Start with a basic toolkit that includes a hammer, various screwdrivers, pliers, measuring tape, a level, and a cordless drill. As your skills grow, consider investing in specialized tools that can simplify complex tasks. For example, woodworking projects are streamlined with a miter saw or a jigsaw, while projects involving plumbing might require a pipe cutter.
Tool Comparison Table
| Tool Type | Option A | Option B | Verdict |
|---|---|---|---|
| Cordless Drill | 18V Li-Ion | 20V Max | Option B has more power |
| Miter Saw | 10" Compound | 12" Sliding | Option B for larger cuts |
| Electric Screwdriver | Rechargeable Lithium-ion | Corded | Option A is more versatile |
| Sander | Orbital | Belt | Both options are effective |
Step 4: Employing Professional Techniques
A variety of techniques can turn a basic DIY project into a professional-grade job. Consider practicing essential methods like:
- Measuring and Marking: Use a chalk line for straight lines on floors and walls; precision is key.
- Cutting Techniques: Always make multiple passes when cutting thicker materials or use a guide when using circular saws for clean cuts.
- Finishing Touches: Sand surfaces before painting or staining for a smoother finish.
- Installation Skills: Familiarize yourself with installation protocols—for example, learning fascia board installation can change the aesthetics of your home’s exterior.
Mastering these can make your project not only aesthetically appealing but also last longer due to quality workmanship. Many professionals stress the importance of taking your time through these processes, ensuring each step is executed correctly.
Step 5: Final Touches and Clean-Up
Once your project reaches completion, don’t overlook the importance of the final touch-up and clean-up. Ensure all surfaces are free from dust and debris, and inspect for any imperfections that can be addressed. Use professional touch-up paints or stains for final enhancements. According to home improvement studies, a well-finished project can increase your home value significantly.
Tips for Effective Clean-Up
- Use proper disposal methods for leftover materials
- Clean tools after use to maintain their performance
- Organize leftover materials for future projects
📺 Ressource Vidéo
> [DIY Techniques for Enhancing Home Improvement Projects], a thorough overview exploring various DIY methodologies and tools.
Professional Blender, Commercial Countertop Blenders, 68 oz Glass Jar Blender Combo, Stainless Steel for Frozen Drinks
bedbathandbeyond.com
Professional Blender, Commercial Countertop Blenders, 68 oz Glass Jar Blender Combo, Stainless Steel for Frozen Drinks
bedbathandbeyond.com

VVOR Professional Blender with Shield, Commercial Countertop Blenders, 68 oz Blender Combo, Stainless Steel 9 Speed & 5 Functions Blender, for
shop.simon.com
Glossaire
| Terme | Définition |
|---|---|
| DIY | Do It Yourself; projects undertaken independently. |
| Touch-Up | Final adjustments made to enhance appearance. |
| Miter Saw | A tool that makes precise crosscuts and miters in a workpiece. |
Checklist avant achat
- [ ] Determine the project scope
- [ ] Gather high-quality materials
- [ ] Invest in the right tools
- [ ] Practice professional techniques
- [ ] Schedule clean-up and touch-ups
Conclusion
The journey to mastering professional DIY techniques takes time, but with thorough planning, quality materials, and a focus on precision, anyone can achieve standout results in their home projects. By utilizing the advice and strategies outlined in this guide, you’ll be well-equipped to tackle any challenge that comes your way. Remember to engage with the process and always seek to learn something new with each project you undertake. Don’t hesitate to check out our recommended products to support your endeavors!
📺 Pour aller plus loin : professional DIY techniques 2026 sur YouTube
Recommended products
Selected by our experts

VEVOR - Blender for Smoothies, 61 oz 1400W, Professional Blender with Powerful Motor, Multi-Functional Food Processing Blender - Dark Gray
bestbuy.com

Professional Dishwasher Door Panel Kit for Viking FDWU524 Dishwasher - Cast Black
bestbuy.com

Professional Dishwasher Door Panel Kit for Viking FDWU524 Dishwasher - Slate Blue
bestbuy.com

Professional Dishwasher Door Panel Kit for Viking FDWU524 Dishwasher - Damascus Gray
bestbuy.com

Professional Dishwasher Door Panel Kit for Viking FDWU524 Dishwasher - Stainless Steel
bestbuy.com