Table of Contents (11 sections)
Planning a DIY project can be an exhilarating yet daunting task. Having a blueprint or strategy in place can tremendously enhance your creativity and ensure that the end result meets your vision. This article dives into effective techniques that can help you approach your DIY projects with professional efficiency.
1. Understand the Scope of Your Project
Before diving into the nitty-gritty of DIY project planning, it’s crucial to have a clear understanding of what you want to achieve. This stage sets the foundation for everything that follows. Start off by defining your project goals — are you redesigning a room, creating furniture, or perhaps launching a garden makeover? Being specific about your objectives can save you time and resources.
To help visualize your project, sketch your ideas or create a mood board with inspiration. This could involve cutting out pictures from magazines or saving images online that reflect the style and functionality you desire. Setting these goals will help in prioritizing your tasks and determining the scope of material and time you'll need.
2. Do Your Research
Once you have established the project scope, it’s time for research. Many DIY enthusiasts overlook this step which can lead to errors or miscalculations. Research involves understanding the materials you will require, the tools you need, and potentially, the skills you might have to acquire. For instance, if you're building a new shelf, not only should you choose the right type of wood, but you should also familiarize yourself with types of screws, brackets, and finishes suitable for your project.
Also, look into tutorials or videos online. There are numerous platforms that provide step-by-step guides. According to a survey by Pew Research Center, over 67% of DIYers use online platforms to find instructions — making this a critical step in preparation.
3. Create a Comprehensive Timeline
Every successful project needs a timeline. Craft a detailed schedule that includes every phase of the project — from gathering materials to the final touches. Break down your tasks into actionable steps with deadlines to keep you motivated. For instance, allocate time for shopping, preparation, assembly, and finishing work (like sanding and painting).
Using project management tools like Trello or Asana can assist in visualizing your timeline and keeping you accountable. A well-structured timeline incorporates buffer periods too, accounting for any unforeseen challenges that may arise, such as delivery delays or needing extra material.
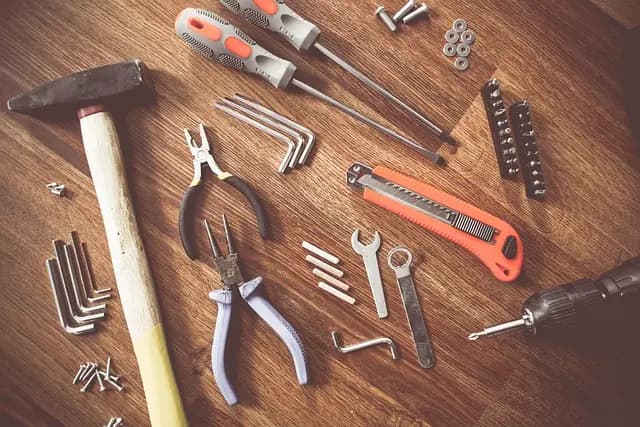
4. Gather Required Tools and Supplies
Before commencing your project, checklist all necessary tools and materials. This includes everything from woodworking tools to paint brushes, and even safety gear like goggles and gloves. For effective DIY project planning, make a list based on your research and timeline.
It can be useful to group tools according to each phase of the project. For example, gather all carpentry tools in one section and painting supplies in another to avoid confusion mid-project. Consider investing in quality tools that can be reused for future projects — this not only enhances your efficiency but can also save money down the line.
5. Prepare Your Workspace
A cluttered workspace can hinder your progress and creativity, so it's essential to prepare an effective environment for your DIY project. Ensure your workspace is clean, well-lit, and organized. Designating a specific area for your project can also help contain mess and create a conducive atmosphere.
Additionally, consider safety measures such as ventilation if you're using materials that emit fumes or dust. Make sure that your tools are within easy reach and that you have sufficient space to move around comfortably. Remember, a well-prepared workspace can significantly enhance your focus and productivity.
6. Execute with Confidence
With everything in place, it's time to execute your project. Start with the first phase on your timeline and work your way through. Keep in mind that perfection is not the goal; the process of creating and learning is just as valuable. Don't hesitate to make adjustments as you go. If you find a method more efficient, pivot accordingly.
Document your progress with photos, as this will not only help you track your improvements but can also be useful for future projects.
7. Evaluate and Reflect
After completing your project, take some time to evaluate what went well and what didn't. This reflection will be invaluable for future DIY projects. Should you have encountered any obstacles, take note so as not to repeat the same mistakes in your next endeavor. One of the most appreciated aspects of DIY is the learning journey.
Reflecting on your work also allows you to celebrate your successes, enhancing motivation for your next project. Share your experience with others — consider posting your achievements online to inspire fellow DIYers!
📺 Ressource Vidéo
> 📺 Pour aller plus loin : DIY Project Planning Made Simple, une analyse complète de comment planifier vos projets DIY efficacement. Recherchez sur YouTube : "DIY planning techniques 2026".
Checklist avant achat
- [ ] Define project goals
- [ ] Research materials and tools
- [ ] Create a timeline
- [ ] List necessary tools and supplies
- [ ] Prepare workspace
- [ ] Execute the plan
- [ ] Evaluate the project outcome

Lamp Depot - Aurora Sunset Projection Floor Lamp with Adjustable Lamp Head - Black
bestbuy.com

PCMD, LLC - Projector Ceiling Mount Compatible with NEC MT860 MT1060 MT1065 MT1075 (Telescoping 13-20-Inch Extension)
bestbuy.com

PCMD, LLC - Projector Ceiling Mount Compatible with BenQ MX522P MX525 MX570 TS521P TS537 TW523P TW526 (Lateral Shift 5-Inch Ext) - Aluminum
bestbuy.com
Glossaire
| Terme | Définition |
|---|---|
| DIY | Abréviation pour "Do It Yourself", se réfère aux projets que l'on réalise soi-même. |
| Mood board | Un collage d'images, de matériaux et d'objets qui inspirent un concept ou un projet. |
| Timeline | Un calendrier planifiant les étapes et les délais d'un projet. |
---
📺 Pour aller plus loin : DIY planning techniques 2026 sur YouTube
Recommended products
Selected by our experts

PCMD, LLC - Projector Ceiling Mount Compatible with Acer X123PH X1280 X1283 X133PWH X1380WH X1383WH (5-Inch Extension)
bestbuy.com

PCMD, LLC - Projector Ceiling Mount Compatible with Epson EB-X62 EB-X6e EB-X7 EB-X72 EB-X8 EB-X9 EB-X92 with NPT Adapter - Aluminum
bestbuy.com
PCMD, LLC - Projector Ceiling Mount Compatible with Eiki LC-XS25 LC-XS30 (Telescoping 13-20-Inch Extension) - Aluminum
bestbuy.com
Jaspertronics™ Original Lamp & Housing for the Optoma EP728i Projector - 1 Year Warranty
jaspertronics.com
Jaspertronics™ Original CPX8LAMP Lamp & Housing for Hitachi Projectors - 1 Year Warranty
jaspertronics.com
Jaspertronics™ Original Lamp & Housing for the Sanyo PLC-WL2501 Projector - 1 Year Warranty
jaspertronics.com