Table of Contents (13 sections)
DIY home repairs are a valuable skill that can save you time and money. Whether it’s fixing a leaky faucet or patching up a wall, knowing how to handle these problems can make your home a more functional and enjoyable place. Plus, with the right tools and techniques, most home repairs can be done without hiring a professional. In this guide, we’ll walk you through several common DIY home repairs with detailed steps, helpful tips, and essential tools.
Understanding DIY Home Repairs
What is DIY Home Repair?
DIY home repair refers to the practice of fixing or improving your home by yourself instead of hiring professionals. This can include tasks like small plumbing fixes, electrical repairs, painting, and more. Learning these skills not only empowers you to take control of your living space but can also increase your home's value and personal satisfaction.
Why Engage in DIY Home Repairs?
- Cost Savings: Hiring a contractor can be expensive. DIY repairs often cost only the price of materials. According to home improvement studies, homeowners can save up to 70% on labor costs by completing repairs themselves.
- Personal Satisfaction: There’s a unique satisfaction in fixing something yourself. Completing a project can boost your confidence and provide a sense of accomplishment.
- Skill Development: Each repair teaches new skills and applications, making future projects easier and quicker.
In general, DIY repairs can turn into a rewarding hobby. As you fix things around your house, your confidence will grow, along with your skills.
Step-by-Step Guide to Common DIY Repairs
Step 1: Fixing a Leaky Faucet
A dripping faucet is one of the most common plumbing issues. Not only is it annoying, but it can also cause an increase in your water bill. Here’s how to fix it:
- Gather your tools: You’ll need a wrench, screwdriver, and replacement parts, which you can find at your local hardware store.
- Turn off the water supply: Before you start, turn off the water supply to the faucet. This is usually located under the sink.
- Disassemble the faucet: Use your screwdriver and wrench to disassemble the faucet. There will typically be a set screw holding the handle in place. Make sure to keep track of the pieces as you take them apart.
- Inspect the components: Check the rubber O-rings and washers for wear. If they look worn or damaged, replace them with new ones.
- Reassemble the faucet: Once you’ve made the necessary replacements, reattach all components in reverse order.
- Turn the water supply back on: Check for leaks. If it still leaks, you may need to consider more extensive repairs or replacements.
This simple task can greatly enhance your daily comfort and may save you money in water costs.
Step 2: Patching a Hole in the Wall
Holes in your walls can be unsightly and can occur for a variety of reasons, from nail punctures to mishaps during moving. Here’s how to patch them up:
- Assess the hole size: For small holes (1/4 inch or smaller), a quick spackle job might suffice. For larger holes, you may need a patch kit.
- Gather materials: Purchase spackle, a putty knife, sandpaper, and paint that matches your wall.
- Apply spackle: Use the putty knife to apply spackle to the hole. Smooth it out to create an even surface.
- Let it dry: Allow the spackle to dry completely as per the product instructions.
- Sand the surface: Once dry, sand the area until it’s smooth and flush with the wall.
- Paint: Finally, touch up the area with matching paint.
Tips: Always take your time smoothing out the spackle before it dries. This minimizes sanding later.
Step 3: Replacing a Light Fixture
Upgrading your light fixture can enhance the aesthetics of your room while improving illumination. Here’s how:
- Turn off the electricity: Always turn off the circuit breaker that controls the light fixture to avoid electric shock.
- Remove the old fixture: Unscrew the old fixture from the ceiling. Carefully disconnect the wiring and be sure to take note of how it’s connected.
- Connect the new fixture: Secure the new fixture by connecting the wires (typically black to black, white to white, and ground to ground) and attach it to the ceiling according to the manufacturer’s directions.
- Test the connection: Turn the circuit breaker back on to test the fixture before replacing the cover.
- Final touches: Secure everything in place and enjoy your new lighting.
Step 4: Cleaning and Unclogging Drains
Clogged drains can be a nuisance. Regular maintenance with simple cleaning methods can help.
- Use hot water: Pouring hot water down the drain can help break up grease and debris.
- Baking soda and vinegar: For tougher clogs, pour a mixture of baking soda followed by vinegar. Let it sit for 30 minutes before flushing with hot water.
- Plumber’s auger: If your drains are still clogged, you might need a plumber’s snake to clear the blockages.
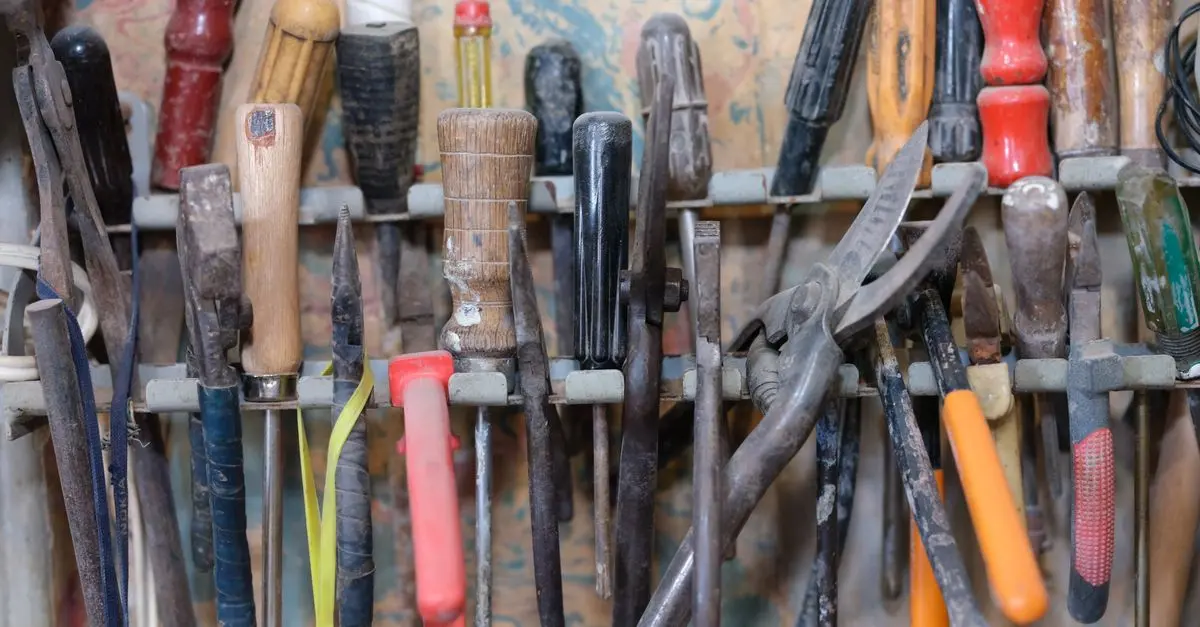
DIY Tools Checklist
- Basic Tool Kit: Including a wrench, screwdrivers, pliers, and a hammer.
- Safety Gear: Gloves and safety glasses are essential.
- Sealant and Paint: Ensuring to maintain the aesthetic appearance of your work.
- Cleaning Supplies: For after-repair cleanups.
- Replacement Parts: Having O-rings, screws, and fixtures can save time.
Homewerks 1/2 in. MPT X 3/4 in. MHT Brass Dual Washing Machine Shut-Off Valve
acehardware.com
Comparative Table of Common DIY Repairs
| Repair Type | Tools Needed | Complexity | Cost Estimate |
|---|---|---|---|
| Faucet Repair | Wrench, screwdriver | Low | $10-$30 |
| Wall Patching | Spackle, putty knife, sandpaper | Low | $10-$25 |
| Light Fixture | Screwdriver, wire connectors | Medium | $30-$100 |
| Drain Cleaning | Hot water, baking soda, plumber’s snake | Low-Medium | $10-$20 (supplies only) |
Conclusion
Tackling DIY home repairs can greatly enhance the comfort and value of your home. By following the outlined steps and using the right tools, you can address common issues efficiently and effectively. As you gain experience, you’ll be able to handle more complex projects with confidence.
Checklist Before You Start
- [ ] Gather all necessary tools.
- [ ] Ensure you have replacement parts if needed.
- [ ] Turn off water/ electricity before starting.
- [ ] Read instructions for any products.
- [ ] Clean work area upon completion.
Glossary
| Term | Definition |
|---|---|
| DIY | Do it yourself; a method of home improvement without hiring professionals. |
| Spackle | A paste used to fill holes and cracks in walls. |
| Plumber’s Snake | A tool used to clear clogs in drains. |
> 💡 Expert Opinion: Having the right tools and being prepared can save you a lot of frustration during home repairs. Keep your tool kit organized and stocked to tackle any project as it arises!
📺 For further insights: How to Fix Common Household Problems, a complete walkthrough of DIY solutions. Search on YouTube for: "DIY home repairs 2026".

Kadyn - Fabric Home Office Chair with Rocking Backres- Home Office Computer Desk Chair, Small Office Chair - Gray
bestbuy.com

Kadyn - Big & Tall 400lb PU Leather Massage Office Chair- Home Office Computer Desk Chair, Small Office Chair - Black
bestbuy.com
Recommended products
Selected by our experts

Hivvago 8 Lbs Compact Mini Twin Tub Washing Spiner Machine for Home and Apartment
shop.simon.com

eKids - Paw Patrol Chase Wired Headphones for Kids, Children’s Headphones for School, Home, or Travel - Blue
bestbuy.com

eKids - IF Bluetooth Headphones for Kids, Wireless Headphones for School, Home, or Travel - Purple
bestbuy.com