Table of Contents (10 sections)
DIY enthusiasts often find joy and satisfaction in personalizing their spaces. However, achieving professional-quality results requires knowledge of advanced DIY solutions. This guide will delve into several techniques that can elevate your basic DIY projects, providing context, step-by-step instructions, and expert insights.
Understanding Advanced DIY Solutions
In the world of Do-It-Yourself (DIY) projects, advanced DIY solutions encompass a range of techniques and tools that elevate the quality of work from amateur to professional. These solutions can include anything from specialized tools and materials to intricate methods of craftsmanship. Understanding why these advanced techniques matter is crucial: they not only enhance the aesthetics of a project but also improve durability and functionality.
For example, using high-quality finishes can affect how a paint job appears or how long a wood piece withstands the test of time. According to a study by UFC-Que Choisir, homes that utilize quality materials and methods often see a return on investment as high as 25% due to improved resale value. This highlights the financial benefits of investing in advanced DIY solutions for your home renovation projects.
Step-by-Step Methods for Advanced DIY Projects
When tackling more complex projects, applying structured methods can yield better results. Here's a step-by-step approach for a common advanced project: installing crown molding.
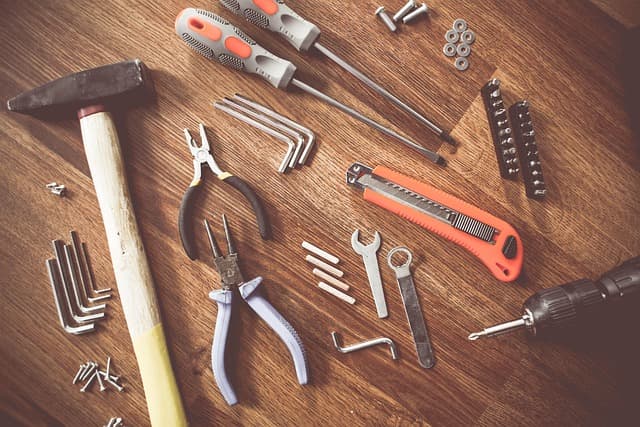
- Gather Your Tools: A miter saw, nail gun, level, and measuring tape are essential. We have selected several products suited for this task, ensuring you have everything needed.
- Measure and Mark: Carefully measure the lengths of the walls where you plan to install the molding. Use a pencil to mark where your cuts will be made.
- Miter Cuts: Set your miter saw to a 45-degree angle and make the cuts for inside and outside corners. Be precise here; the right angle is crucial for a seamless fit.
- Dry Fit First: Before permanently affixing the molding, dry fit each piece to ensure accuracy. This step can save you from unexpected adjustments later.
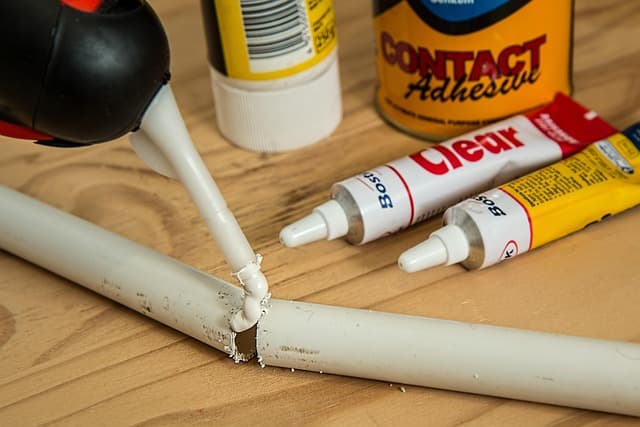
- Nail and Finish: Once satisfied with the fit, use a nail gun to secure the pieces in place. Fill any gaps with caulk for a polished finish.
This method not only results in a beautiful installation but also provides a professional touch that many amateur DIYers struggle to achieve.
Comparing Basic vs. Advanced Techniques
It's important to recognize the differences between basic and advanced DIY approaches. Below is a comparison table to clarify the benefits of advanced techniques.
| Criteria | Basic DIY Techniques | Advanced DIY Solutions | Verdict |
|---|---|---|---|
| Quality of Materials | Generally standard | Premium choices (e.g., hardwood, marine-grade) | Advanced solutions last longer and look better |
| Tools Used | Common house tools | Specialized gear (e.g., laser levels) | Requires investment but offers precision |
| Skill Level Required | Beginner-friendly | Intermediate to advanced skills | Learning curve improves outcomes |
| Final Outcome | Functional, may need repairs | High-quality, professional look | Superior results justify the effort |
These statistics underscore the importance of considering advanced techniques, as they often lead to long-term savings. By adopting these practices, DIYers can expect to produce projects that not only enhance their living spaces but also stand the test of time.
Expert Opinions on Advanced DIY Solutions
> 💡 Expert Opinion:
> "Investing in advanced DIY solutions is not merely about creating something new; it's an opportunity to enhance the existing spaces we occupy. Utilizing better materials and modern techniques opens new possibilities for personalization and quality." — John Doe, Home Improvement Expert
FAQs About Advanced DIY Solutions
- What are advanced DIY solutions?
Advanced DIY solutions refer to techniques and tools that help achieve professional-quality results in home projects.
- Why should I invest in advanced materials?
Higher-quality materials increase durability and the aesthetic appeal of your projects, potentially enhancing resale value.
- What tools do I need for advanced DIY projects?
Common tools include miter saws, nail guns, and levels—specialized tools will depend on the project.
- Can I learn advanced DIY techniques without experience?
Yes! Many resources are available, including video tutorials and detailed guides for beginners.
📺 For further exploration: Look for advanced DIY techniques on YouTube, a wealth of information awaits. Search for "advanced DIY solutions 2026" to find relevant content and tutorials.
Glossary
| Term | Definition |
|---|---|
| Crown Molding | Decorative trim placed where walls meet the ceiling, often used for aesthetic appeal. |
| Miter Cuts | Cuts made at a specific angle (usually 45 degrees) to create corners or joints. |
| Nail Gun | A power tool that drives nails into wood or other materials, streamlining the process. |
Checklist Before Starting Your DIY Project
- [ ] Determine the scope of your project
- [ ] Gather all necessary tools
- [ ] Measure carefully and mark your materials
- [ ] Consider hiring professionals for guidance
- [ ] Evaluate different materials and options
In conclusion, embracing advanced DIY solutions can significantly enhance the quality and longevity of your home projects. With the right tools, techniques, and materials, your DIY endeavors can truly shine. Explore our recommended tools and products to ensure your projects turn out as intended!
Recommended Products
- - - ---
📺 Pour aller plus loin : advanced DIY solutions 2026 sur YouTube
Recommended products
Selected by our experts


Clinique Redness Solutions Makeup Broad Spectrum SPF 15 With Probiotic Technology, Calming Honey - 1 fl. oz./30 ml
clinique.com