Table of Contents (13 sections)
Creating professional-quality DIY projects isn't just for craftsmen and professionals — anyone can achieve impressive results at home. Whether you're refurbishing furniture, creating home decor, or tackling a renovation, following specific steps can make all the difference between a good project and a great one. In this guide, we will cover 10 essential steps to help you elevate your DIY endeavors to a professional level.
1. Define Your Project Goals
The first step to achieving professional quality in your DIY project is setting clear goals. What do you hope to accomplish? Define the scope, aesthetic, and function of your project. For example, if you wish to create a new coffee table, consider its size, color, and style that fits your home decor. Make a list of features you desire, whether it's a rustic design or modern aesthetic. Having a well-defined target will guide your material choices and crafting decisions.
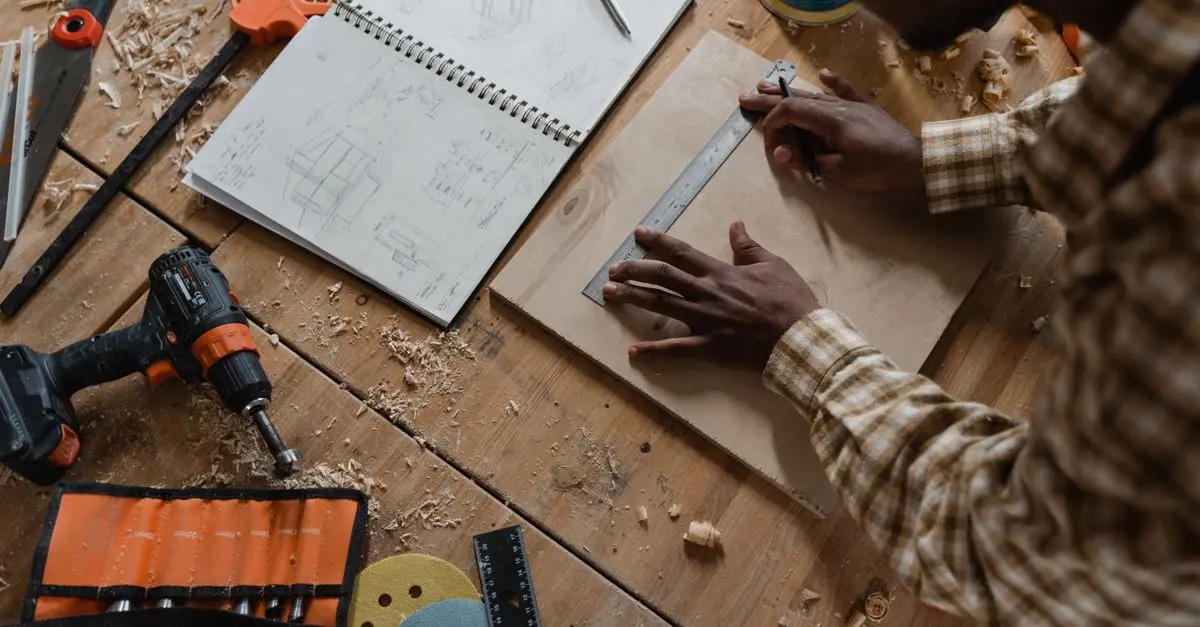
2. Create a Detailed Plan
A successful DIY project starts with a solid plan. Map out your process step by step, including required materials, tools, and a timeline for completion. A good plan might include a drawing or blueprint of your project, alongside a list of measurements and required materials. For example, creating a garden bench may involve specifying the type of wood, dimension, and the tools needed for assembly, such as saws and drills. Keep in mind that this planning phase is crucial for a smooth execution.

Metropolitan Vacuum Cleaner Co., Inc. Professional Car Vacuum and Dryer
sharperimage.com

Metropolitan Vacuum Cleaner Co., Inc. Professional Auto Detailing Vacuum
sharperimage.com
Professional Blender, Commercial Countertop Blenders, 68 oz Glass Jar Blender Combo, Stainless Steel for Frozen Drinks
bedbathandbeyond.com
3. Gather Quality Materials
Quality materials make a significant difference in the final output of your projects. Prioritize materials that suit your project’s aesthetic and function. For outdoor projects, opt for weather-resistant materials such as treated wood or metal finishes. Investing in high-quality supplies not only enhances the professional look of your project but also increases its longevity and durability. Consult with local hardware stores or specialized suppliers regarding the best materials for your specific project type.
4. Master the Necessary Techniques
Understanding the necessary techniques for your project is vital. Take time to research and practice the skills you will use. For instance, if you are building a cabinet, familiarize yourself with woodworking joints like dovetail or mortise and tenon. Online video tutorials or local workshops can provide you with lessons on specific techniques. Practicing these skills can lead to smoother execution and impressive final results, showcasing your professionalism in handling the project.
5. Prepare Your Workspace
An organized workspace promotes efficiency and focus. Before starting your project, clear the area of clutter. Ensure you have proper lighting and ventilation, especially if you are utilizing paints, woods, or adhesives. Designate different zones for cutting, assembling, and finishing work. Being organized helps reduce errors and promotes a safer working environment. Keep all your tools and materials within arm's reach, making the transition between tasks seamless.
6. Pay Attention to Detail
Attention to detail can elevate an average DIY project to professional quality. Sand surfaces to a smooth finish, ensure measurements are precise, and double-check alignment when assembling parts. Details like consistent paint application or clean cuts can greatly impact the finished look of your project. Also, consider adding features that enhance the aesthetic, such as decorative hardware or unique paint colors that tie into your existing decor.
Professional Blender, Commercial Countertop Blenders, 68 oz Glass Jar Blender Combo, Stainless Steel for Frozen Drinks
bedbathandbeyond.com
Professional Blender, Commercial Countertop Blenders, 68 oz Glass Jar Blender Combo, Stainless Steel for Frozen Drinks
bedbathandbeyond.com

VVOR Professional Blender with Shield, Commercial Countertop Blenders, 68 oz Blender Combo, Stainless Steel 9 Speed & 5 Functions Blender, for
shop.simon.com
7. Use Professional-Grade Tools
Investing in or renting professional-grade tools can substantially improve the quality of your work. While basic tools are sufficient for many DIY jobs, upgraded equipment can enhance precision and ease of use. For example, a professional-grade blender can assist in tasks beyond conventional uses, such as crafting smooth stains or textures for finishes. Assess your tool collection and consider adding items that match your project’s scope for a more professional result.
8. Test Before You Commit
Don’t rush into the final application. Test any paint, stain, or finish on a scrap piece of material first. This allows you to see color accuracy and the finish result under different lighting conditions. When constructing a larger project, test assembly with temporary fixtures to ensure everything fits well before making permanent affixations. Testing removes the risk of potential errors in the actual project and saves time, resources, and frustration later on.
9. Document Your Process
As you work through your project, take photos and notes on your process. Documenting your journey not only helps you track progress but is also beneficial if you encounter challenges. A thorough documentation can be useful for future projects, providing insights into what worked and what didn’t. Additionally, sharing your documented process on social media or DIY platforms can inspire others while enhancing your own credibility in DIY communities.
10. Review and Revise
After completing your project, take a step back and review your work. Look for areas that might need improvement or touch-ups before you consider it finished. This can include sanding rough edges, applying an additional coat of paint, or simply cleaning up any mess left behind. Consider getting feedback from friends or family who can provide honest insights into the appearance and functionality of your project.
Checklist Before You Start
- [ ] Define project goals clearly.
- [ ] Create a detailed, step-by-step plan.
- [ ] Gather all quality materials necessary.
- [ ] Master basic techniques required.
- [ ] Prepare an organized workspace.
- [ ] Invest in professional-grade tools if necessary.
- [ ] Conduct tests with your materials.
- [ ] Document your entire process.
- [ ] Review and revise your finished project.
Glossary
| Term | Definition |
|---|---|
| DIY | Do-It-Yourself; a method of creating or fixing things independently without professional help. |
| Blueprint | A detailed drawing or plan that provides instructions for building or creating. |
| Pro-grade tools | Tools that are designed for professional rather than casual use, often providing better performance and durability. |
> 📺 For further insights: Watch DIY project planning videos for valuable tips. Search on YouTube: "DIY home project planning essentials 2026".
🧠 Quick Quiz: What is the most crucial step before starting a DIY project?
- A) Defining goals
- B) Gathering materials
- C) Organizing tools
Answer: A — Defining goals shapes the entire project approach.
📺 Pour aller plus loin : DIY project planning essentials 2026 sur YouTube
Recommended products
Selected by our experts

VEVOR - Blender for Smoothies, 61 oz 1400W, Professional Blender with Powerful Motor, Multi-Functional Food Processing Blender - Dark Gray
bestbuy.com

Professional Dishwasher Door Panel Kit for Viking FDWU524 Dishwasher - Cast Black
bestbuy.com

Professional Dishwasher Door Panel Kit for Viking FDWU524 Dishwasher - Slate Blue
bestbuy.com

Professional Dishwasher Door Panel Kit for Viking FDWU524 Dishwasher - Damascus Gray
bestbuy.com

Professional Dishwasher Door Panel Kit for Viking FDWU524 Dishwasher - Stainless Steel
bestbuy.com