Table of Contents (9 sections)
When venturing into the world of DIY, achieving a professional finish can be a game changer. Whether you’re renaming your living space, crafting custom furniture, or refurbishing old items, the quality of your finish significantly impacts the overall outcome. Many DIY enthusiasts find themselves struggling at this point, often resulting in unsatisfactory results. This article dives deep into expert strategies and techniques designed to elevate your work, transforming it from basic to breathtaking.
1. Understanding the Importance of a Professional Finish
A professional finish is not merely about aesthetics; it reflects the commitment to quality and attention to detail. It's crucial for maintaining the longevity of any project, whether it be a piece of furniture, a painted wall, or a refinished countertop. According to a report by UFC-Que Choisir, projects with high-quality finishes can last up to 50% longer than those with mediocre finishes. Additionally, the value of your project increases substantially — for instance, well-finished furniture can elevate the perceived value of an entire room.
A considerable factor to regard is the surface preparation. Proper sanding, priming, and painting techniques are foundational to a flawless finish. If the surface isn’t prepared correctly, the finish will falter, showing all imperfections like bumps, scratches, or uneven textures. Thus, a significant takeaway is that the quality of your finish is directly related to your preparation.
2. Step-by-Step Guide: Achieving a Professional Finish
Achieving a professional finish isn't as daunting as it sounds, provided you follow structured steps. Here’s a detailed walkthrough:
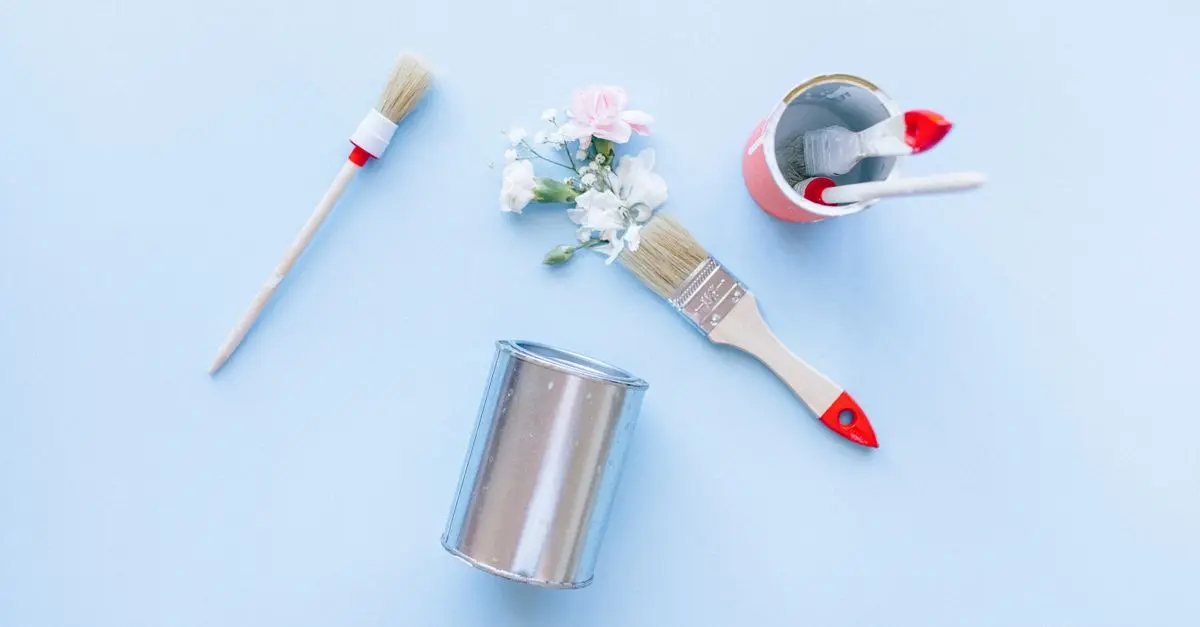
Step 1: Gather Your Tools and Materials
Ensure that you have all the necessary tools and materials before starting. Common tools include paintbrushes, rollers, sandpaper, primer, finisher, and drop cloths. A vacuum or hands-free cleaner can help ensure that the workspace remains clean. Having everything on hand limits disruptions during your project.
Step 2: Surface Preparation
A clean surface is essential. Begin by removing dust, grease, and any residue from the surface. Use a sandpaper of appropriate grit (typically 120-220 grit) to smooth out any imperfections, ensuring the finish adheres well. Always wipe down any dust after sanding with a damp cloth.
Step 3: Choose the Right Finishing Method
The finishing method you select greatly affects your final outcome. For wood projects, lacquer, polyurethane, or oil-based varnish are great choices. For walls and furniture, high-quality latex paint can provide a smooth and professional appearance. Always test your chosen finish on a small, inconspicuous area first.
Step 4: Apply Primer
Before applying any paint or finish, primer plays a critical role in ensuring durability and adhesion. Choose a suitable primer for your project and apply it evenly. Allow it to dry completely before moving on to the finish coat. This step minimizes paint absorption and enhances color vibrancy.
Step 5: Apply Your Finish
Using a high-quality brush or roller, apply your chosen finish in even strokes, overlapping slightly to ensure uniform coverage. Avoid applying too thick a coat; multiple thin coats are preferable. Pro Tip: Maintain a wet edge to prevent noticeable lines or marks.
3. Comparing Finishing Techniques
To choose the best finishing method, consider these common options and their benefits:
| Technique | Pros | Cons | Best For |
|---|---|---|---|
| Brush | Precision in detail | Brush strokes visible | Furniture and intricate items |
| Roller | Quick application | Limited detail | Large wall areas |
| Spray | Smooth and even finish | Requires skill | Multi-surface projects |
| Wipe-on | Easy application | Lots of product needed | Wood stain finishes |
5. Common Mistakes and Avoidance Techniques
Many beginners face recurring challenges while attempting a professional finish. Common pitfalls include:
- Not properly preparing the surface (skipping sanding or cleaning).
- Over-brushing or rolling, causing marks or uneven textures.
- Accepting the first coat as sufficient — always aim for multiple thin layers rather than one thick coat.
By recognizing these mistakes in advance and making a conscious effort to avoid them, you can ensure a much smoother finish.
Checklist before Purchase
- [ ] Verify tool and material availability
- [ ] Choose the right primer and finish for your project
- [ ] Check weather conditions for application
- [ ] Prepare workspace for seamless execution
- [ ] Plan for multiple coats if necessary
Glossary
| Term | Definition |
|---|---|
| Finishing | The application of materials that enhance the appearance of surfaces, providing protection. |
| Primer | A preparative coat applied prior to the finish to enhance adhesion and durability. |
| Surface Preparation | The process of preparing a surface to ensure optimal conditions for finishing material application. |
> 📺 For further insights: How to Achieve a Perfect Paint Finish offers a comprehensive view on professional finishing techniques. Search on YouTube: "how to achieve a professional finish in DIY projects 2026".
🧠 Quick Quiz: What is the most critical step to achieving a professional finish in your DIY projects?
- A) Choosing the right paint
- B) Properly preparing the surface
- C) Selecting the right tool
Answer: B — Without proper preparation, even the best choices won't yield a perfect result.
In conclusion, taking the time to apply these professional techniques will not only improve the aesthetic value of your projects but will also ensure they stand the test of time. Don't hesitate to start reaping the rewards of your skilled labor!
Recommended Products
Discover our recommendations below for tools that will enhance your DIY experience.
📺 Pour aller plus loin : how to achieve a professional finish in DIY projects 2026 sur YouTube
Recommended products
Selected by our experts

VEVOR - Blender for Smoothies, 61 oz 1400W, Professional Blender with Powerful Motor, Multi-Functional Food Processing Blender - Dark Gray
bestbuy.com

Professional Dishwasher Door Panel Kit for Viking FDWU524 Dishwasher - Cast Black
bestbuy.com

Professional Dishwasher Door Panel Kit for Viking FDWU524 Dishwasher - Slate Blue
bestbuy.com

Professional Dishwasher Door Panel Kit for Viking FDWU524 Dishwasher - Damascus Gray
bestbuy.com

Professional Dishwasher Door Panel Kit for Viking FDWU524 Dishwasher - Stainless Steel
bestbuy.com